Close

Science of Sharpie
Lesson Plan, Grades 5-12, Science, Drawing, Mixed Media
Description
Lesson Plan and Artwork by Joe Culotta
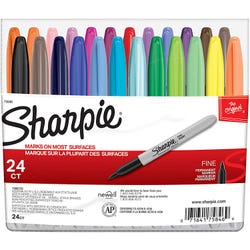
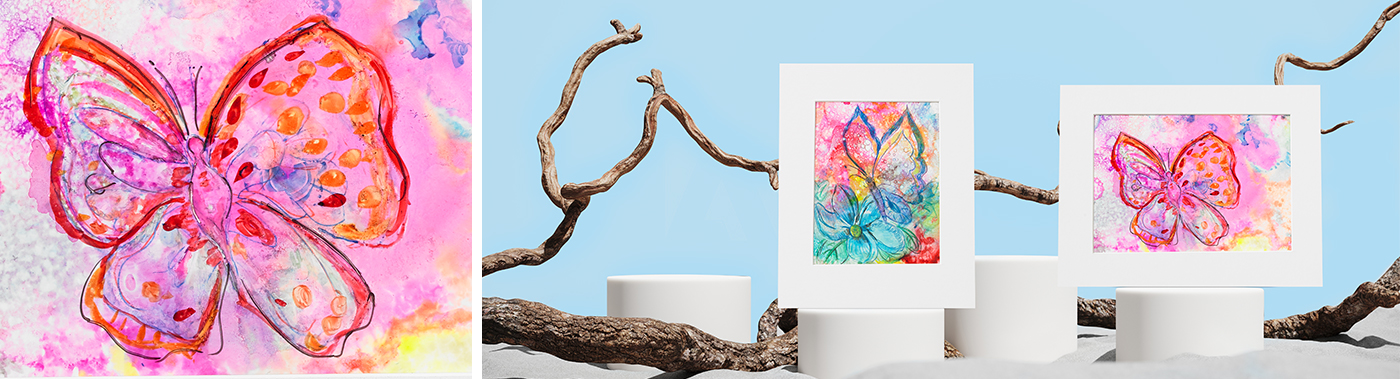
Sharpie Permanent Markers are alcohol ink-based. Students will apply Sharpie Permanent Markers onto a non-porous surface and manipulate the color by applying 91% Isopropyl Alcohol. This will allow the student to manipulate the marker like watercolor on a non-porous surface such as Yupo paper, glazed tile or plastic sheets. Once dry, students will add detail and texture by using Ultra Fine Sharpie Markers.
Objectives
- Students will discover how Sharpie Permanent Markers can be manipulated on a non-porous surface using 91% Isopropyl Alcohol.
- Students will experiment with different types of non-porous surfaces.
- Students will create backgrounds for drawings, using Ultra Fine Sharpie Markers.
Supplies Needed
Sharpie® Ultra Fine Permanent Markers, Assorted Colors, Set of 24
Sharpie® Fine Permanent Markers, Assorted Colors, Set of 24
Sharpie® Brush Markers, Assorted Colors, Set of 12
Sharpie® Hard Case Ultra Fine Permanent Markers, Dynamic Colors, Set of 5
Sharpie® Hard Case Ultra Fine Permanent Markers, Cool Colors, Set of 5
Paint Pipettes, Pack of 25
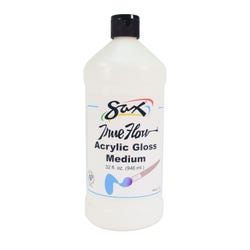
Acrylic Gloss Medium, Quart
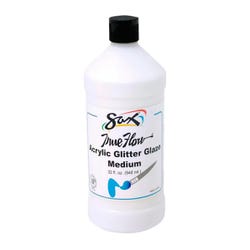
Acrylic Glitter Glaze Medium, Quart
70% Isopropyl Alcohol, Pint
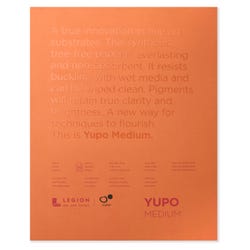
Paper 74 lb 11 x 14 Pad
*Here are the supplies needed for this lesson plan for reference. Find a convenient carousel of shoppable products for this lesson below.
Standards
Standard #2: Organize and develop artistic ideas and work.
Standard #3: Define and complete artistic work.
Standard #5: Develop and refine artistic work for presentation.
Instructions
1
Show students how to use a pipette or spray bottle to apply Isopropyl Alcohol to their Sharpie Permanent Marker drawings.
2
Cut paper into two 6” x 9” pieces. Note: this process works on any glazed surface such as porcelain tile, plastic sheets or any polymer-sealed surface.
3
Using Sharpie Permanent Markers, cover the surface with various colors. Use colors in warms or cools or colors that will not muddy, such as complementary colors.
4
Using pipettes or a spray bottle, add alcohol drops or lightly spray the surface of the paper. This action will cause the marker ink to liquefy.
5
After dropping some alcohol or spraying the surface, the applied colors will begin to blend and blur. The paper can gently be tilted to move the colors around on the surface. A brush can also be used to manipulate the ink.
6
When you are satisfied with the blending, let the surface dry. (You can use a heat gun to speed up this process.).
7
After the surface is completely dry, use Ultra Fine Sharpie Markers to create your final composition.
8
Polymer or any non-alcohol-based medium may be used to seal the surface. Apply with a dry brush.
9
Have students display their final work and explain the techniques they used to create it.