Pocket Wall Pots

Description
Lesson Plan and Artwork by Eric Orr
Wall pockets are an easy, functional, clay slab project allowing the maker to both texture a slab and decorate it with sprigged clay additions. These wall pockets are open to any size or interpretation.
Objectives
- Students will work with the clay slab method, create rolled-on texture, and add sprigged-clay decoration in the creation of a functional clay slab project.
Supplies Needed
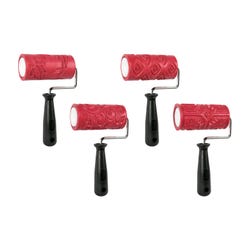
Textured Clay Rollers, 4 Handles & 4 Sleeves
Molds
Glazes, Pint, Set of 12
Fettling Knife, Soft Blade
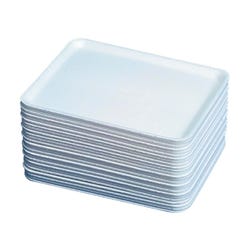
Paint, Printmaking & Collage Tray, Pack of 250
*Here are the supplies needed for this lesson plan for reference. Find a convenient carousel of shoppable products for this lesson below.
Standards
Standard #1: Generate and conceptualize artistic ideas and work.
Standard #2: Organize and develop artistic ideas and work.
Standard #3: Define and complete artistic work.
Standard #6: Convey meaning through the presentation of artistic work.
Standard #9: Apply criteria to evaluate artistic work.
Standard #10: Synthesize and relate knowledge and personal experiences to make art.
Instructions
1
Determine the size and function of your pocket pot.
2
To “puff out” the pocket, gather the desired form: cardboard, newspaper, Styrofoam tray, etc.
3
Roll out two or three pounds of white clay to a thickness of 1/4” to 3/8”.
4
Cut the back rectangle and the pocket front piece. Cut the pocket front piece 1” wider than the back rectangle. This will allow space for “puff” out of the pocket. Texture both pieces using texture rollers or stamps.
5
Trim the pieces and score and slip the pocket to attach it to the back piece.
6
Insert one of the desired forms or a small piece of wadded-up newspaper into the pocket to support it as it dries.
7
Add embellishments, if desired, with sprigs formed from a plaster sprig mold. Score and slip them, and attach. Be sure to punch a “hangy hole” into the top of the back piece.
8
Dry the finished pocket pot on a piece of newspaper on a board. Some weight may be needed to help large shapes to dry flat and not warp.
9
When dry, remove the form or newspaper from the pocket and bisque-dry the piece to cone 04, 1949°F.
10
Glaze with two or three coats of Light Glazes. These can be inter-mixed. For a more translucent and painterly look, mix glaze half-and-half with clear transparent glaze #F-10 or #LG-10.
11
Glaze-fire to cone 05, 1888°F.


