Close

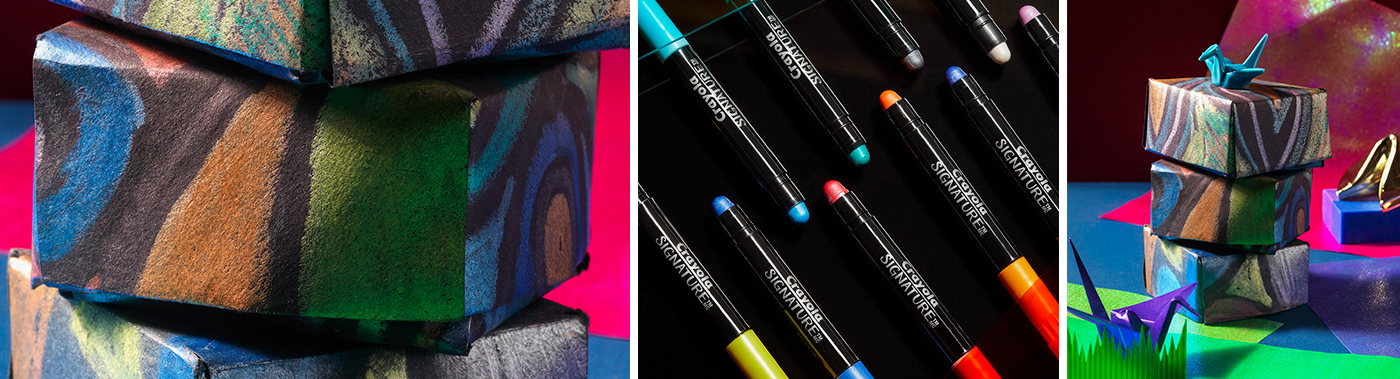
Pearlescent Box Making
Lesson Plan, Grades 5-12, Math, Art, 3-D, Drawing
Description
Lesson Plan and Artwork by Joe Culotta
Box making utilizes the ancient Japanese practice of folding paper called Origami. Origami is more than just a visual art form, it is also a modern practice that inspires the minds of scientists and engineers to think outside the box. This lesson incorporates creative design and thoughtfulness and is used to teach students that applying origami techniques can lead to making paper prototypes by translating them into other materials.
Objectives
- Study the art of Japanese Origami and its rich history.
- Use math to create precise geometric designs.
- Create an origami box using pre-designed Bristol board.
Supplies Needed
Crayola® Signature™ Pearlescent Cream Sticks, Set of 10
School Smart® Folding Bristol Board 9 x 12 in, Black, Pack of 100
Creativity Street® Art/Craft Swabs, Pack of 100
Standards
Standard #2: Organize and develop artistic ideas and work.
Standard #3: Refine and complete artistic work.
Standard #5: Develop and refine artistic work for presentation.
Instructions
1
To design the box – cut School Smart Folding Bristol Board into two 9”x 9” squares.
2
Using a small piece of soap as a resist medium, create a linear pattern on each of the squares.
3
Using the Crayola Pearlescent Cream Sticks, color the spaces created by the linear pattern (do not color over the soap lines).
4
After coloring, use a damp cotton swab or small brush to wash away the soap. Do not overly wet the paper while removing the soap lines.
5
To create the box use the two 9” squares of designed Bristol - first fold into quarters and then unfold or mark with a ruler (if you do not want a crease in your box). Do the same for each square. One will be for the top of the box and the other for the bottom.
6
Bring each corner into the center to make a smaller square.
7
Bring each side into the center and crease as if you are creating a rectangle. Unfold this step, give the small square a quarter turn and repeat this step of folding to the center on each side.
8
Lay flat the folded piece. This will show you the square center of the top of the box and the four rectangular sides. Pull out one section from the center. Using the rectangular fold line, make a cut on the fold line to the corner of the box top. You will need to make four of these cuts but the cuts need to be opposite of each other so that you will have two sides with two cuts and two sides with no cuts.
9
Once the cuts are made, pull out one section from the center. Fold in corner pieces and place the pulled out section over the top to lock in place.
10
Repeat on opposite side.
11
Follow these directions with the second square and gently nestle the two halves together.