Close

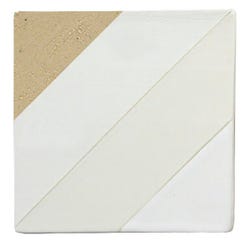
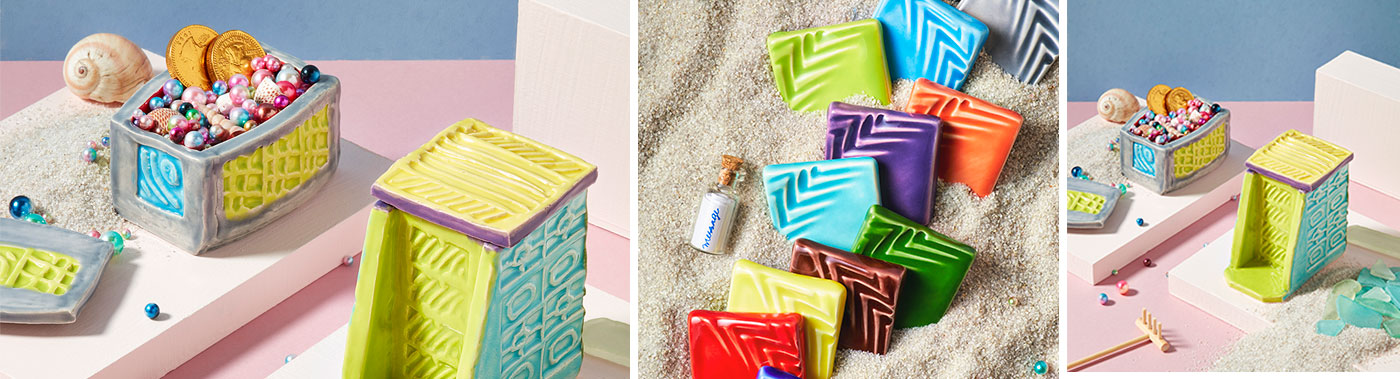
Stamped Texture Boxes
Lesson Plan, Grades 7-12, Art, Math, Social Studies, Ceramics & Sculptures, 3-D
Description
Lesson Plan and Artwork by Eric Orr
Humans of all cultures have made containers for their small treasures for centuries. This ceramic lesson’s small stamped slab boxes can be any size or shape and can contain a mystery of their own.
Objectives
- Learn how to create simple design eraser stamps for use on ceramics.
- Design and construct a 3-dimensional box.
- Discover how to create lids and feet to enhance the box.
Supplies Needed
AMACO® Low Fire Moist Earthenware Clay, White, 25 lbs
AMACO® Teacher’s Palette® Light Glaze Class Pack, Assorted Colors, 12 Pints
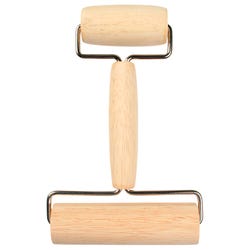
AMACO® Pony Roller, 1 5/8 in, Hardwood, Steel Frame
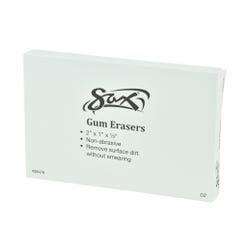
Sax® Gum Art Erasers, 2 x 1 x 1/2 in, Brown, Pack of 12
Xiem Tools Bevel Cutter
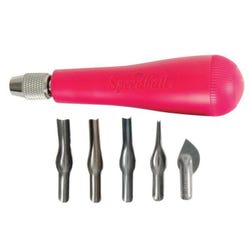
Speedball® Adjustable Linoleum Number 1 Cutters, Set of 6
Falcon 1-Piece Hardwood Clay Roller, 18 x 101/2 in
Kemper Fettling Knife, 41/2 in, Soft Pliable Steel Blade, Wood Handle
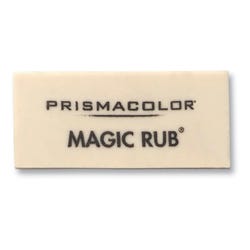
Prismacolor® Magic Rub® Latex-Free Vinyl Eraser, 21/4 x 1 x 7/16 in, White, Pack of 12
Standards
Standard #1: Generate and conceptualize artistic ideas and work.
Standard #2: Organize and develop artistic ideas and work.
Standard #3: Refine and complete artistic work.
Standard #4: Select, analyze and interpret artistic work for presentation.
Standard #7: Perceive and analyze artistic work.
Standard #11: Relate artistic ideas and works with societal, cultural and historical context to deepen understanding.
Instructions
1
Using care, carve simple designs into gum or plastic erasers using carving tools.
2
Draw sketches of your box, complete with dimensions. Show views of all sides and top (lid).
3
Roll out 2 pounds of clay into a 1/4 inch thick slab using a rolling pin and guide sticks or a slab roller.
4
Press carved eraser stamps into clay. Do you wish to put stamped textures together, have them touch, have borders, overlap? Practice will tell you how much pressure to use. Dry the slab out a bit if stamps stick to clay.
5
After stamping slab, measure and cut out the slab sides, bottom and lid shapes needed to create your box. Use a fettling knife.
6
Assemble your box by scoring (with pin tool or fork) and slipping proper edges together. (Slip is clay and water paste.)
7
Sides can be joined by a butt joint or (better) using a wire to cut corners at a 45 degree angle.
8
Reinforcing tiny coils (worms) may be needed to secure wall and bottom joints together. Smooth all joints and seams.
9
Your box needs a lid. On the inside of the lid, score and slip small pieces of slab just inside where the walls are. These are “lid stops” and do exactly what their name implies.
10
Do you want feet to elevate your pot? Does the lid need a handle?
11
Clean and sign your box (on the bottom). Remember, the kiln will fire exactly what you put in it, so be a careful craftsperson!
12
When boxes are bone dry, bisque-fire them slowly to cone 04 (1945 degrees F).
13
Using Amaco Teacher’s Palette Light Glazes, determine your color scheme. These glossy glazes are Translucent with 2 coats, and opaque with 3. Allow glaze coats to dry before putting on another coat. Colors are intermixable.
14
Glaze fire to cone 05 (1888 degrees F). Be sure to stilt bottoms if glazed, or wipe foot bottoms off.
15
What will you keep in your bright mystery box?