Inspiration Flags

Description
Flags are used throughout all cultures and time periods to represent a vast range of ideas and intentions. Flags can be simple in nature to represent a group, such as scouts or a religious organization; a place, like a nation or state; or an action, like caution, stop and go. Other flags, such as Tibetan prayer flags, are visual representations of more abstract concepts, designed to encourage meditation. This lesson can be easily modified for each class level using markers, crayons, fabric or paper, painting, drawing, stenciling or screen printing the image onto the fabric for advanced classes.
Objectives
- Students will look at a variety of flags spanning time and culture and make note of the variety of intent and purposes that flags communicate.
- Students will learn about the symbols depicted on flags and discuss their meaning, what are the flags communicating? What is the purpose of the flag? Some flags include words, symbols and colors in their design and each have a meaning.
- Students will create their own symbol and meaning to represent in their own flag.
- Possible themes and symbols for this lesson can include classroom rules, personal inspiration, community symbols, school symbols and themes, words of motivation, or art themes.
- You may also think about how and where you will be displaying the flags, this can be decided by you, the teacher, or you can discuss this process with the class.
Supplies Needed
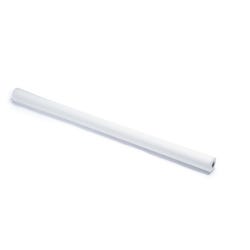
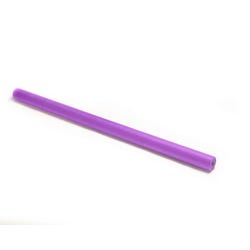
Smart-fab® Fabric Rolls 48" x 40"
White 1394894
Black 1394895
Brown 1394896
Blue 1394897
Dark Blue 1394898
Dark Purple 1394899
Grass Green 1394900
Apple Green 1394901
Red 1394902
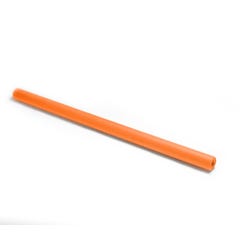
Orange 1394903
Dark Pink 1394904
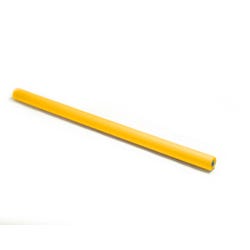
Yellow 1394905
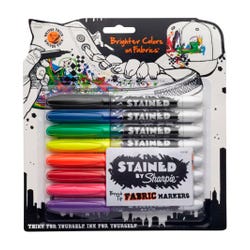
Stained by Sharpie® Fabric Markers, Set of 8 1400836
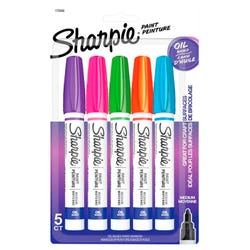
Sharpie® Paint Markers - Fashion Colors, Set of 5 1371760
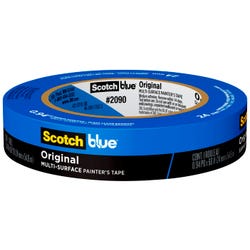
Scotch-Blue Painters Tape for Multi-Surfaces, 1" x 60 yds. 1369894
Surebonder Low Temp., 40 Watt Glue Gun 1462945
Dual-Temperature Glue Sticks, 4", Pack of 20 1452540
100% Natural Jute Twine, 3-Ply, 1/8" x 220 ft. 053925
Sax® Extra- 456896
Sax® Extra-White Sulphite Drawing Paper, 9" x 12", 50 lb., 500 Sheets 053925
Standards
CONTENT Standard #1: Understanding and applying media, techniques and processes.
CONTENT Standard #4: Understanding the visual arts in relation to history and cultures.
CONTENT Standard #6: Making connections between visual arts and other disciplines.
Instructions
Show students a variety of flags from cultures and time periods. Brainstorm flags that you know and have seen and discuss their intent and purpose. Using the idea of "inspiration" as a positive motivator for the classroom, or school community, brainstorm flag ideas that could be shared in the school environment.
1
Draw ideas in a sketchbook and have students take notes of images and meanings found in flags, especially the ones they like the most.
2
Have students share at least 1 flag they like the most and describe why- make connections to the elements of art to jumpstart responses.
3
Create a positive or inspirational theme for the students either personal or community based. Have students create practice drawings of their own ideas, using the elements and principals of design- most importantly symbol design, meaning, color.
4
Help students choose their best design to draw onto the smart fab fabric.
5
K-8 classes use precut flag shapes, 8-12 classes you may want to give the option to create their own flag shape. For a 10" x 14" flag (shown) cut a piece of fabric 10" x 28" and fold in half. Use a low temperature glue gun to glue 3" below the fold. Carefully fold over the flag, match up the ends and press together leaving a pocket below the fold, this creates a loop for you to string a rope or cord through each flag.
6
Start students by showing them to draw a border for their image to fill inside, leaving 3-4" of space at the bottom to cut later into fringe.
7
The flags shown in this lesson have a 3-4" fringe cut on the bottom of each flag to add texture and movement. For K-6 classes you may want to draw a border for students to place their design in, leave the fringe space un-cut until the student has completed their design. Then cut the fringe or have students cut the fringe at the very end.
8
Use small pieces of fabric to use to test out which colors of marker work best on which color of Smart-fab® fabric. Use a scrap piece of paper under the Smart-fab® for durability, or you may attach the fabric to a table or paper with blue painters tape.
9
Use Stained by Sharpie® Fabric Markers on Smart-fab® fabric. Apply your first layer of the Stained Markers and let dry before applying a second layer. Also try using Sharpie® Paint Markers- allow more drying time for the paint pens and use a scrap paper under the fabric.
10
When the flags are complete string them together leaving a couple of inches of space between and hang in the classroom, school hallway, or outside in a community garden or walkway where the whole school community can see and be a part of the experience. The positive messages of the flags will remind us all to be positive and stay motivated in any environment and give a visual sense of unity.


