Brilliant Squares

Description
Lesson Plan and Artwork by Sue Loesl
Students continue to develop their fine motor art skills from the first time they hold an art tool through ongoing art experiences well into high school. Some students require specially designed tools to be able to engage in the artmaking experience as independently as possible. Tools that are larger, differently gripped or uniquely shaped may assist students to create art with active and more independent engagement. When an art classroom practices the principles of UDL (Universal Design for Learning), a variety of artmaking tools for students with and without disabilities should be available for all students. Using a basic shape, such as a square for cutting, and repetitive movement in line with various adaptive drawing and painting tools, students with and without support can determine the best tools for their unique creative needs in this multi-skilled art lesson.
Objectives
- Students will (with support) determine the most appropriate adapted scissors for their artmaking by cutting three square shapes.
- Students will (with support) determine the most appropriate adaptive-drawing tool for their artmaking by drawing with a variety of drawing tools.
- Students will create an art piece, utilizing adaptive tools best suited for their creative needs.
Supplies Needed
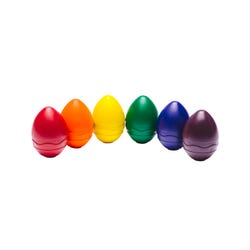
Washable Palm Grasp Crayons, Set of 6
Glue Stick, 0.28 Ounces, Purple
Tripod Grip Markers, Set of 8
Glue Stick, 1.27 oz, Purple
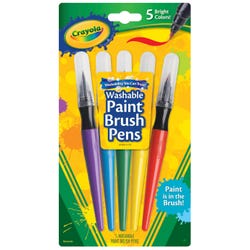
Tripod Grip Paintbrush Pens, Set of 4
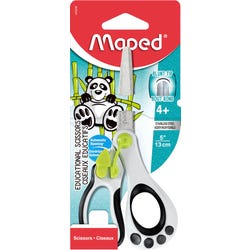
Special Needs Scissors, 5 Inches, Assorted Colors, Set of 12
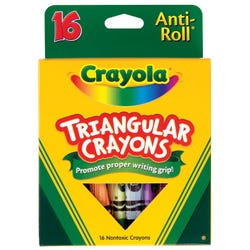
Tripod Grip Crayons, Set of 16
Mini Easi-Grip Scissors, Stainless Steel Blade
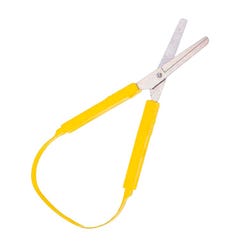
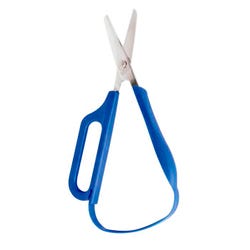
Long Loop Easi-Grip Scissor, Right-Handed
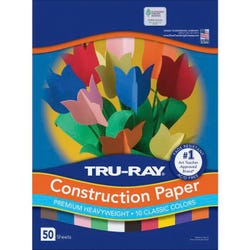
Sulfite Construction Paper, 9x12, Assorted Colors
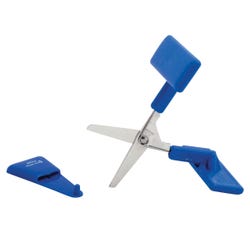
Push Down Adapted Scissor, 5 Inch
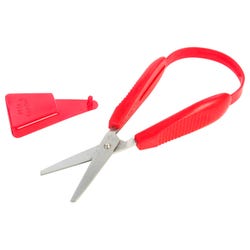
Smart Loop Scissors, 8 Inches
Drawing Paper, 80 lb, 9x12 White
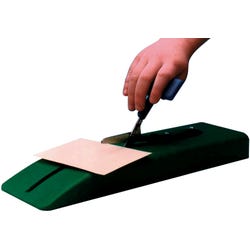
Push Down Table Top Adapted Scissors, 5 Inch
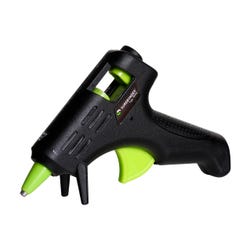
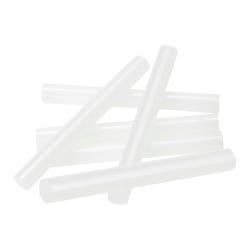
High Melt Temperature Mini Trigger Fed Glue Gun
*Here are the supplies needed for this lesson plan for reference. Find a convenient carousel of shoppable products for this lesson below.
Standards
Standard #1: Generate and conceptualize artistic ideas and work.
Standard #5: Develop and refine artistic work for presentation.
Standard #7: Perceive and analyze artistic work.
Standard #10: Synthesize and relate knowledge and personal experiences to make art.
Instructions
1
Gather 9”x12” Construction Paper in red, orange, yellow and white as well as the Tripod Grip Crayons and the Fingertip Ruler.
2
Using the Fingertip Ruler and a contrasting Tripod Grip Crayon, draw a 2” square on red paper, a 4” square on orange paper, a 6” square on yellow paper and a 9” square on the white paper. Students may need support to hold the Fingertip Ruler and mark the lines with a Tripod Grip crayon for cutting or teachers may choose to pre-draw the lines.
3
To determine the correct scissors for each student, start by putting the scissors out on a table. Next, under teacher supervision, let students test scissors in order to determine the best fit for their individual need. It may take several tries in order to find the one that is just right. For a complete guide on adapted scissors, visit our website at schoolspecialty.com/art.
4
Cut the red, orange, yellow and white construction paper squares with the adapted scissors.
5
Depending upon student grasp, choose either the small or large Glue Stick and glue the squares on top of each other in descending order to the middle, starting with yellow on the white, orange on the yellow, and red on top of the orange.
6
To provide cool color contrast, choose one of the blue, green or purple Tripod Paintbrush Pens and tap it on the red square to get the paint flowing. Paint to the edge of the paper, returning to the middle of the red square, tapping, and again painting to the edge of the white paper. Repeat all around the red square. Because of the plastic bristles and paint flow, a unique texture is made as the paint is applied. The other two colors can also be added in the same fashion.
7
To determine the other drawing tools that are most functional for the student, again choose cool colors and begin with the Palm Grasp Crayon. Its large size enables students to apply a lot of color with each line. Starting on the red square, direct students to draw from the center out to the edges of the paper. If the student does not require the large size Palm Grasp Crayon, the Crayons can be used. They have a differently designed unique grip and strong pigment so the effect is similar. The Tripod Grip Markers are also similarly shaped, and adding them next creates crisp, clean lines in comparison to the more textured lines of the Paintbrush Pens, Palm Grasp and Triangular Crayons.
8
To finish the design, use the white Triangular Crayon to create white lines from the red square to the other colored squares.
9
Students determine the extent to which they add additional color and texture with the various art tools.


