What’s My Line?

Description
Lesson Plan and Artwork by Franz Spohn
Exquisite line work by way of the intaglio printmaking process has produced spectacular images throughout the history of art (Rembrandt, Whistler, Miro, Picasso, Kathe Kollwitz and Kiki Smith for guiding examples). Opposite to relief printing, where ink is rolled out on the top surface of a block, intaglio inking involves filling troughs, textures and scratches with ink below the surface, and the top plane is wiped clean. The lines of an intaglio print can be produced chemically (etching: metal plate and acid) or physically with burins (engraving: think of the lines of a one-dollar bill) or a dry-point needle (scratching). The focus of this project will be on dry-point with clear plastic plates.
Students will select a theme (e.g. cats) and standard format (e.g. 4” X 4”). The plates can be a standard size or cut from larger-sized plates, easily but carefully, with straight edge and utility knife. Each student will interpret the theme and will incise lines, guided by a formatted photograph or drawing placed under the see-through plastic plate. Individual prints are editioned as well as collaborative prints comprising several students’ plates and printed on a larger sheet of paper, dependent on press bed and paper dimensions.
Color and tone can also be incorporated to enhance the image.
Objectives
- Students will learn dry-point/intaglio printmaking process.
- Students will visually interpret image using a variety of lines.
- Students will conceptually interpret a theme in a personally significant manner.
- Students will collaborate in producing a printed edition and learn proper studio etiquette.
Supplies Needed
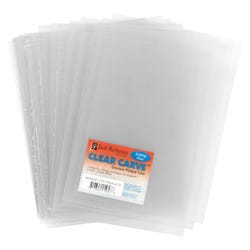
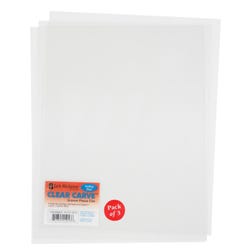
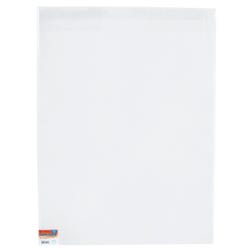
Clear Etch Plates 8 x 10 in, Pack of 3
Clear Etch Plates 9 x 12 in, Pack of 3
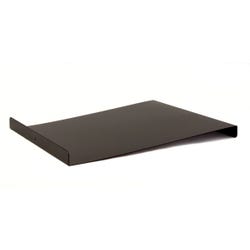
Metal Ink Plate, 12-1/2 x 14-1/2 in
Clear Etch Plates 5 x 7 in, Pack of 36
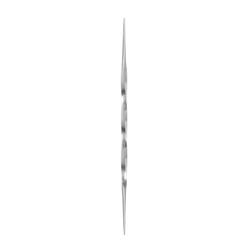
Carving Twisted Etching Tool, 7-1/2 in
Hard Rubber Brayer, 4 in
Printmaking Paper, 9 x 12 in, 135lb, Pack of 50
Intaglio Ink, Crimson Red, 8 oz
Intaglio Ink, Phthalo Blue, 8 oz
Intaglio Ink, Hansa Yellow, 8 oz
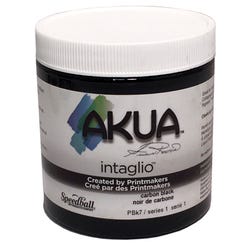
Intaglio Ink, Carbon Black, 8 oz
*Here are the supplies needed for this lesson plan for reference. Find a convenient carousel of shoppable products for this lesson below.
Standards
Standard #1: Generate and conceptualize artistic ideas and work.
Standard #2: Organize and develop artistic ideas and work.
Standard #3: Define and complete artistic work.
Standard #7: Perceive and analyze artistic work.
Standard #11: Relate artistic ideas and works with societal, cultural and historical context to deepen understanding.
Instructions
1
Select a theme and format size for the plates.
2
Prepare a composition and image that focuses on a key image appropriate to the theme, perhaps using a photograph or drawing as a base for the image. This image is placed under the clear plastic plate as a guide for the actions of the twisted dry-point needle. Remember that the printed image will be a reverse of the visual information on the plate. Reverse the letters/numbers and word order in anticipation of this. The composition will appear reversed as well.
3
Remove the protective cellophane from the plate. On a scrap piece of mat board, place and tape the image guide and place the plastic plate over the image. It may be helpful to use small bits of tape to secure the plate to keep it from shifting.
4
Using the dry-point needle, begin scratching into the plate to produce grooves and crevices that will be the ink reservoirs that print as lines. The deeper and wider these are, the more ink will be contained and thus produce correspondingly darker and wider lines.
5
To view how things are progressing, hold the plate closely in front of a light source and look at the cast shadow on a piece of white paper. This will give you a fair facsimile of how the plate will print. HELPFUL HINT: Tones and implied volume can be achieved by crosshatched lines and patterns. Coarse sandpaper can create a textured plate surface capable of catching the ink. The deeper and more pronounced the texture, the darker the values.
6
Ink and wipe the plate. Print on dampened print paper. The paper should only be soaked for 20-30 seconds. At that point, the surface of the paper should be dried with a towel to remove surface moisture.
7
Place damp prints between blotter sheets and add weight so prints dry flat. A multi-media pad of paper can also be used.
8
To add background color, roll color intaglio ink onto a metal ink plate with a hard rubber brayer (choose one that is a bit wider than the width of your plate) and roll onto the intaglio inked plate. To protect the image area from being colored, cut a shape from tracing paper that corresponds to the area to be protected from the relief rolled layer of color ink. This paper shape will surely stick to the roller of the brayer but can be carefully removed, wiped clean and used repetitively for editioning purposes. Position inked plate on press, lay paper, and print. NOTE: Each student’s plate can be editioned separately and also combined with studio mates’ plates to create a composite group print on a larger sheet of paper. Critique individual and group prints as they relate to the context of the theme selected for the class project.


