Close

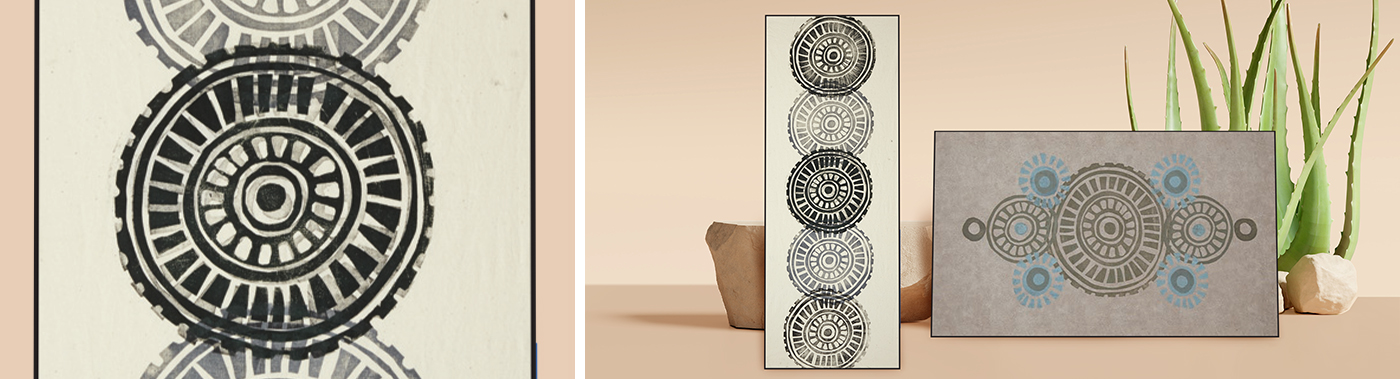
Inspired Circles
Lesson Plan, Grades 4-12, Math, Social Studies, Art, Printmaking
Description
Lesson Plan & Artwork by Mary Reilly
Webster defines a circle as "a closed symmetrical curve". In this lesson plan students will have the opportunity to unravel all the unique characteristics of a circle. They can explore the parts that the circle plays in art, math, science, nature and within their own environment. After studying numerous types of circular objects students will create their own circular influenced design.
Objectives
- Students will apply to a printing block and cut out.
- Students will examine and dissect circular objects to create a circular design pattern.
- Students will use the block to create a printed design on fabric.
Supplies Needed
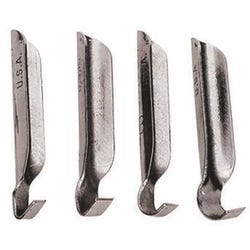
Speedball Linozip Number 22 Large V Pull Type Cutters, Steel, Pack of 12
Speedball Linozip Number 25 Large U Pull Type Cutters, Steel, Pack of 12
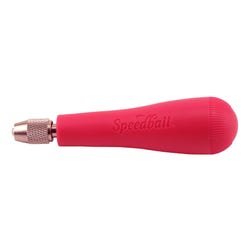
Speedball Linozip Adjustable Comfortable Cutter Handle, Red
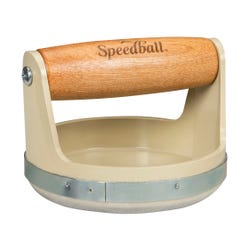
Inovart Combination Inking Plate and Bench Hook, 7 x 9 Inches
Speedball Linozip Number 21 Small V Pull Type Cutters, Steel, Pack of 12
Speedball Linozip Number 23 Small U Pull Type Cutters, Steel, Pack of 12
Speedball Teflon Friction-Free Block Printing Baren, 4-1/2 Inches
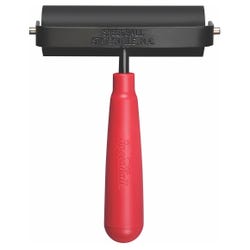
Speedball Hard Rubber Brayer with Plastic Handle, 4 Inches
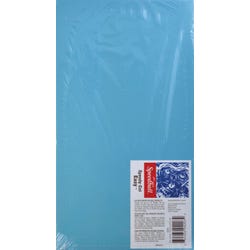
Speedball Speedy-Cut Flexible Durable Easy Block, 6 X 11 in, Blue
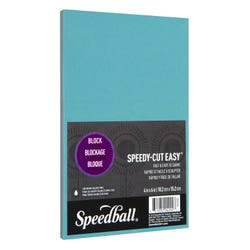
Speedball Speedy-Cut Flexible Durable Easy Block, 4 X 6 in, Blue
Speedball Fabric Block Printing Ink Classroom Set, Set of 8
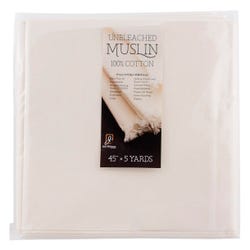
Jack Richeson Unbleached Muslin, 45 Inches x 5 Yards
*Here are the supplies needed for this lesson plan for reference. Find a convenient carousel of shoppable products for this lesson below.
Standards
Standard #1: Generate and conceptualize artistic ideas and work.
Standard #2: Organize and develop artistic ideas and work.
Standard #3: Define and complete artistic work.
Standard #5: Develop and refine artistic work for presentation.
Standard #10: Synthesize and relate knowledge and personal experiences to make art.
Instructions
1
To get started have student name off all the circular objects in the classroom or ask them how many round circular objects they can name.
2
Share with students' art containing circles and circular art forms from different cultures for inspiration.
3
Bring in pieces of fruit such as oranges and pomegranates. Cut the fruits in half to start a discussing on how circles can be subdivided. Discuss how these subdivisions can be used as design elements.
4
Have students bring in examples of their favorite circular objects i.e. buttons, watches, gears, seeds to share with the class. Students should point out the design elements in their objects.
5
Students should create a number of circular designs in a sketch book. Students will choose one of these designs to create a circular block for printing. From their design they will be able to make a number of smaller blocks using some of the elements from their original design. Students will use all of these blocks to create their final design on fabric or paper.
6
Select the design to be used and transfer it to a Speedball Speedy-Cut Easy Block. This eraser like material is easy to cut. Student can use Speedball Linoleum Cutters or Speedball Linozip Cutters on this material.
7
When the design is transferred to the block students are ready to start cutting. Show students the proper cutting techniques. Have them use a bench hook to safely cut the blocks on. Additional blocks can be created using elements from the original design to further enhance the student's final work. Once all the blocks are cut printing can begin.
8
Select the fabric to print on. Make sure it has been washed, dried and pressed before printing. The washing will take out any sizing in the material. The fabric should be placed on a flat surface covered with kraft or newspaper. Tape the fabric in place so it does not move during the printing process.
9
Choose a separate area to keep printing blocks, inks and brayers. Have student choose the colors of Speedball Fabric Ink to be used. If mixing a custom color make enough to complete the piece.
10
Place selected ink on a bench hook. Using a brayer work the ink back and forth to cover the brayer. The ink will become sticky the more it is worked. Once it reaches the stick stage it is ready to apply to the printing block.
11
Apply ink to printing block working in both directions to get good coverage. Student may want to print first on paper to make sure that their design is cut properly in the block. Once ii is correct the student can then start to print on the fabric. The block should be place on the fabric ink side down. A baren should be used to evenly apply pressure to the block.
12
Once this has occurred the block can be removed and re-inked for the next printing. The printing can be random or in a pre-determined pattern.
13
The ink will dry to the touch overnight. It will become permanent after one week of curing. At that time it can be laundered. The fabric can be made into wall hanging, sewed into clothing, pillows or table runners.