Close

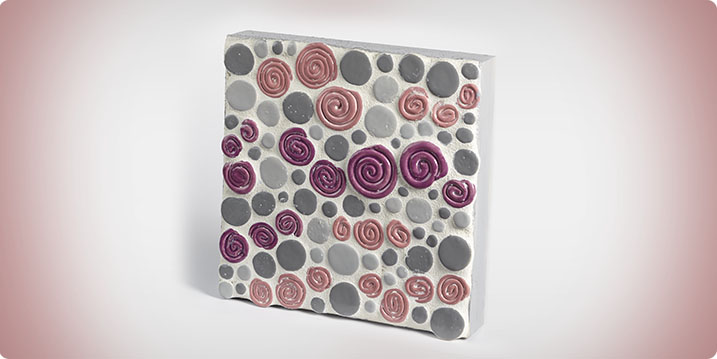
One Fire - Ceramic Spiral Mosaic
Lesson Plan, Grades K-5, Art, Math, Mayco
Description
This lesson introduces the construction of flat and simple clay coils. The coils are glazed, fired, and finally assembled into a collaborative mosaic mural. The finished piece has many dynamic possibilities, ranging from smaller wooden canvas pieces to large hallway sized mosaic murals. These murals are a shiny, colorful alternative to the popular recycled bottle cap mosaics. The individual spirals can be measured, counted, and charted to connect the lesson to math. Study the natural science behind spirals and shells for additional curricular connections.
Objectives
- Students will study the significance of the spiral or coil shape throughout history.
- Students will roll out and assemble flat coils. The coils will be glazed and fired.
- Students will measure and record the different sizes and colors available.
- Students will collaboratively assemble the fired coils into a finished mosaic artwork.
Supplies Needed
Mayco® Stroke & Coat 12-Color Set A, 2 oz. Jars 229167
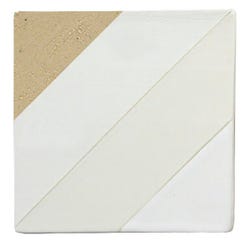
Amaco® Low Fire Earthenware Clay - White 25, Moist, 50 lbs. 351452
Basswood Canvas, 10" x 10", Sold Individually 1403306
Sax® True Flow® Acrylic Paint Pint Set, 12 Colors 439304
Sax® True Flow® Multi-Media Varnish, Gloss, Quart 403960
Synthetic Ceramic Sponge, Sold Individually 408064
Mosaic Tile Adhesive, Quart 403051
Mosaic Grout Sealer, Quart 404979
Dry Set Grout, White, 25 lbs. 452033
Standards
CONTENT Standard #1: Understanding and applying media, techniques and processes.
CONTENT Standard #3: Choosing and evaluating a range of subject matter, symbols and ideas.
CONTENT Standard #4: Understanding the visual arts in relation to history and cultures.
Instructions
1
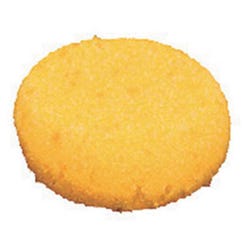
Show images of spirals in nature and history. Demonstrate how to roll a consistent coil on a flat surface using two hands. Starting at one end, turn the long coil in one direction to form a flat spiral coin.
2
Distribute clay to students to make several spiral coins of different sizes. Be sure to work fast to prevent the clay from drying and cracking. For more consistent coils, a clay extruder can be used. Lay the spiral coins out to dry to leather-hard. Coins can be flipped at regular intervals to prevent warping.
3
Spiral coins are redistributed to the students for glazing.
4
Mayco® Stroke & Coat can be used on slightly dried or leather-hard clay. Many teachers prefer this one fire method of glazing for efficiency. This method allows you to bisque and glaze fire in one step. Glaze ONE SIDE ONLY, but apply three coats for the brightest, shiniest colors. No clear over-glaze is needed. Allowing the piece to have an unglazed side allows moisture to escape during the firing process and prevents cracking and breaking. Teachers may prefer to have one color family of glazes per table to avoid undesirable color mixing.
5
Fire the spiral coin pieces to Cone 05 for best results with this one fire bisque and glaze technique.
6
Measure, count, classify, and arrange the coins into boxes of different color families.
7
Sketch out a design for a final piece on a wood canvas or a large piece of masonite. Apply mosaic tile adhesive to selected areas and quickly adhere the coils to the surface.Smaller glass globs and circular tiles may be added in detailed areas.
8
Once the adhesive has dried, mosaic grout can be mixed and applied in between the coils. Allow the grout to set and wipe away excess grout, especially between ridges of each coil. Once the grout has dried, apply mosaic grout sealant and polish each ceramic piece using a soft cloth.
9
Finish by painting any exposed wood edges with Sax® True Flow® Acrylic Paint and Varnish.