Close

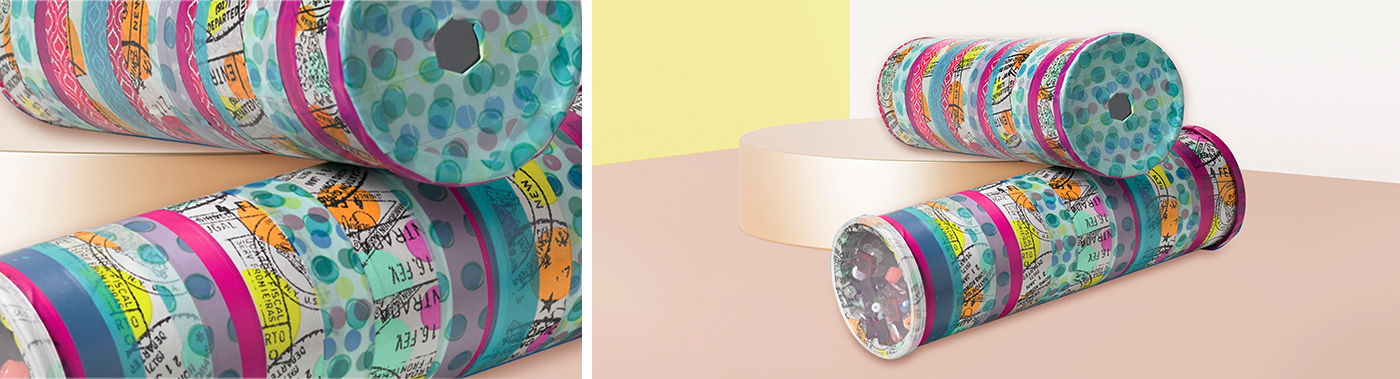
Expressions Kaleidoscope
Lesson Plan, Grades 5-12, Science, Art, 3-D
Description
Lesson Plan & Artwork by: Nadine Dresbach
The student will create a kaleidoscope using safe and simple materials, skills and scientific principles. Using patterned tapes, the exterior design of the kaleidoscope will be completed. They are fabulous for layering, so the possibilities for design variation are endless.
Objectives
- Students will study the scientific principles associated with the reflection of color and light in the imagery they use while creating the kaleidoscopes.
- Students will study the history of the device and the variations of its construction properties.
- Students will learn and experience the process of design, layering color and pattern when applying the tapes to the surface of the finished piece.
Supplies Needed
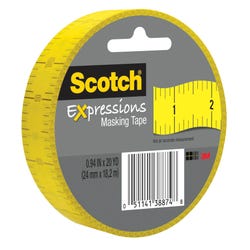
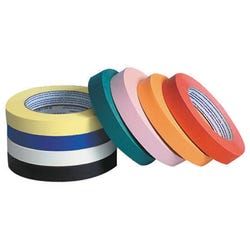
Scotch® Expressions Tape, 3/4" x 300" - Dots 1463173
Scotch® Expressions Tape, 3/4" x 300" - Green Lines 1463174
Scotch® Expressions Tape, 3/4" x 300" - Assorted Pack of 3 1463175
Scotch® Expressions Washi Tape, .59" x 393" - Illustrated Alphabet 1463176
Scotch® Expressions Washi Tape, .59" x 393" - Cracked Design 1463177
Scotch® Expressions Washi Tape, .59" x 393" - Pink Quatrefoil 1463178
Scotch® Expressions Washi Tape, .59" x 393" - Feather Design 1463179
Scotch® Expressions Washi Tape, 1.18" x 393" - Travel Design 1463180
Scotch® Expressions Washi Tape, 1.18" x 393" - Zigzag Design 1463181
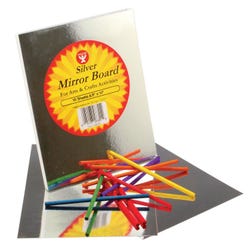
Mirror Board, 8 1/2" x 11", Pack of 10 247946
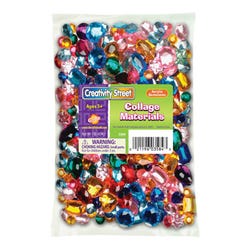
School Smart® Acrylic Gemstones, 1 lb. 085728
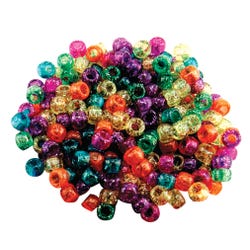
Pony Beads - Jelly, Pack of 1000 085764
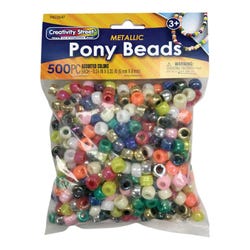
Pony Beads - Metallic, Pack of 500 085767
Pony Beads - Glitter, Pack of 1000 1393872
Plastic Sheets, 6" x 9", Pack of 10 401473
Additional Materials Neeed: - (2) lids and (1) container from a tubular potato chip container - Corrugated cardboard: 1 strip 3/4" x 9", cut so the corrugation runs perpendicular to the log edge, so it will coil into a circle easily. - Packing Materials: newspaper, tissue or small bubble wrap
*Here are the supplies needed for this lesson plan for reference. Find a convenient carousel of shoppable products for this lesson below.
Standards
Standard #1: Generate and conceptualize artistic ideas and work.
Standard #2: Organize and develop artistic ideas and work.
Standard #3: Define and complete artistic work.
Standard #5: Develop and refine artistic work for presentation.
Standard #11: Relate artistic ideas and works with societal, cultural and historical context to deepen understanding.
Instructions
1
To begin, cut out the bottom of the potato chip container using a handheld can opener and wipe out the inside of the tube so that it is clean as possible.
2
Next create the viewer (eyepiece) using one of the plastic end caps. Cut a hole in the very center, approximately the size of a dime, using a utility knife or small scissors. Discard the small center.
3
Trace the plastic end cap onto a piece of the plastic sheet using a permanent marker. Using scissors, cut the circle out a little smaller than the outline so that it will nest on the inside of the plastic cap.
4
The viewer cap will later be attached permanently to the end of the can where the bottom was cut out. For now, it will be a little loose on that end, so secure it temporarily with two small pieces of tape.
5
To create the mirror section that goes inside the tube, use the mirror board. Cut a rectangle 6 1/4" x 8 3/4". Divide it horizontally into three sections of 2" each leave in a very small space between them for the fold. Lightly score along each section on the mirrored side of the board. Fold each line up so that the two sides of the board meet and it forms a triangular tube shape with the mirror inside.
6
Tape the two edges together and wrap the outside of the triangular folded piece with enough packing material that it will slide snugly into the tube and not move.
7
Slide it to the end so it will touch the viewer cap. There will be approximately 3/4" of space left at the end. We will use this as the reservoir space to hold the beads.
8
Using the second end cap, once again trace its size onto the plastic sheet and cut it a little smaller than the outline. This time, it will need to fit snugly into the can and rest on top of the triangular mirror tube.
9
Put that in place and form the corrugated cardboard strip into a circle and place it on top of the plastic disc along the inside of the container so that it is against the outside edges. This will hold the plastic disc in place and will keep your beads just in the center of the tube.
10
You can now pour an assortment of colored beads (I found transparent colored ones to work best) into the reservoir and secure the lid on the top of the can. This lid can be left removable so that the beads inside can be changed if desired.
For Exterior Scope Design
11
Now it is time to design the exterior of the scope using the patterned tapes. Take advantage of their strong, flexible qualities when coming up with a design.
12
You may wish to cover the exterior of the can with a white surface paint or paper before putting the tapes on.
13
You can use the tapes over the (viewer) lid first and only leave the view hole exposed.
14
Then you can use the patterned tapes to secure that lid permanently to the can and design the body of the can from there.