Creatures of the Night

Description
Lesson Plan and Artwork by Franz Spohn
The difference between working on a dark ground rather than the traditional white is like night and day. Even on the most sunny, bright day our psychological and visual perceptions shift when it turns dark. In idiom, we like things to be “crystal clear” and, certainly, no one wants to be “left in the dark.” In this project, students will experiment with manipulating forms, color, light, and their psychological effects using Faber-Castell’s Black Edition colored pencils with black paper.
Objectives
- Learn about the relationship between the value, hue, and saturation of color
- Understand how to create atmosphere and manipulate psychological effects as positive elements of one’s personal artistic vision.
- Gain skills in the application of color pencils to develop specific and intended effects.
Supplies Needed
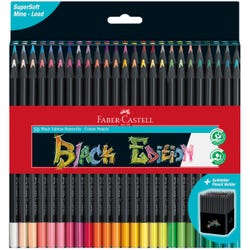
Faber-Castell® Black Edition Colored Pencils, Assorted Colors, Set of 50
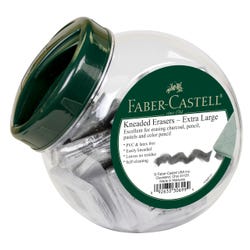
Faber-Castell® Kneadable Art Erasers in Fishbowl, Extra Large, Pack of 48
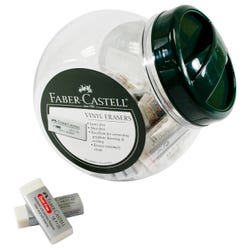
Faber-Castell® Large Soft Dust-Free Vinyl Eraser, 23/8 x 1/2 x 7/8”, White, Pack of 40
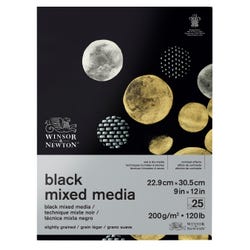
Winsor & Newton™ Mixed Media Pad, 9 x 12”, 200 gsm, Black, 25 sheets
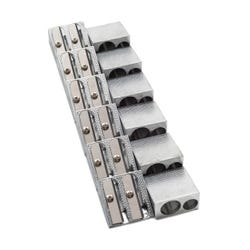
School Smart® 2-hole hand held sharpener
*Here are the supplies needed for this lesson plan for reference. Find a convenient carousel of shoppable products for this lesson below.
Standards
Standard #1: Generate and conceptualize artistic ideas and work.
Standard #3: Refine and complete artistic work.
Standard #6: Convey meaning through the presentation of artistic work.
Instructions
When working on a traditional white piece of paper (ground), the brightest highlights are inherent in the paper itself, and the color value is layered to produce the shadows – a buildup of light to dark. With a black ground the opposite situation exists. The darkest shadow value is inherent in the paper itself, and the highlights are produced by layering from the darkest shadows (the black paper) with light applications of color. This gradually builds from total shadow to darker tones to mid-value color to full color and highlight. The subsequent and thicker color applications will result in the full saturation of color.
1
For a visual historical reference, review with students the works of Caravaggio (chiaroscuro), Henry Fuseli (the Nightmare), Charles Burns, imperial villa at Boscotrecase (mural on black ground), and Francisco Goitia (Tata Jesucristo among others).
2
Select single colors and practice creating a transition from black shadow to fully saturated color. Hold the pencil near the end of the shaft away from the point. Use this grip, which gives you much more control on the amount of pencil layered, rather than the less subtle application of pigment in a typical pencil grip as if you were writing rather than drawing. Use light and gradual applications to create layers for the best transitions from dark to light.
3
Next, try blending two colors from the ends to the middle to create a smooth transition from either starting point to the middle. Keep your pencil sharpened and use gradual application for best results. What happens if you add varying layers of white or another third color?
4
Once this concept is understood and controlled, try simple shapes like a sphere or cube. Seurat maintained that all shapes are made up of the cube, the sphere and the cylinder…. these are good shapes to practice with. Imagine a light source and use your understanding of manipulating color value on black to create a simple environment for your objects. This will give you a format to combine shadows, highlights, and mid-tones to fashion your world.
5
Lastly – the fun part – create your own creatures of the night! Think of neon signs, lurking entities in the shadows, creepy crawlies emerging from under rocks, and spirits hiding in the shadows to match your wildest imagination! A good way to start is to lightly map the basic framework by using simple combinations of shapes to create your tableaux. Choose a light source direction and avoid heavy applications of pigment in a hasty or premature impulse. Kneaded erasers are a great aid in removing subtle layers of color, while a vinyl eraser can enable more drastic alterations.
6
Evaluate the results. What atmosphere visually and psychologically has been created? What decisions were made that determined the form of the final result? Are there factors that could change the effects if more pencil were added or more removed with erasure? One tendency in the beginning is to reduce the amount of pure black. A more dramatic and perhaps more effective drawing maintains a good amount of unmarked shadow areas of pure black. The observer’s eye will fill in the details, so do not fear leaving large areas untouched… you can always alter them in the finish. Think of Hamlet’s soliloquy on the stage. In most cases all the lighting except one spot is killed, so that the contrast accentuates the features of Hamlet’s face due to the pronounced emphasis on highlight and dark face shadows. Additionally, the background becomes an infinite black pool. Hamlet both emerges from the dark and is enveloped by it… highly dramatic and effective!


