How Does Your Garden Grow

Description
Lesson Plan and Artwork by Jack Matthews
Exactly what do you see when you begin to create a painting? How do you start? What if you just created organic shapes? Could you then turn them into something concrete? This lesson allows students to do just that. This lesson provides students the ability to successfully create a composition on many grade levels.
Objectives
- Teacher will first discuss botanical aspects of the garden to include shapes, sizes, height of what one would see or envision in a garden.
- Given the proper materials, students will develop their garden through stages: a. general shapes, b. development of distinctive objects using lines, c. the addition of other objects to form foreground, middle ground and background.
Supplies Needed
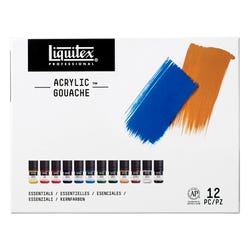
Acrylic Gouache, Essential Colors, 0.74 oz, Set of 12
Basic Brushes, Set of 4
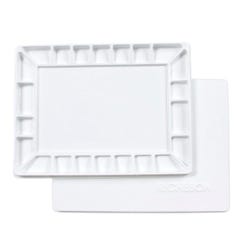
Folding Palette Box, 8 x 8 in open, 20 compartments
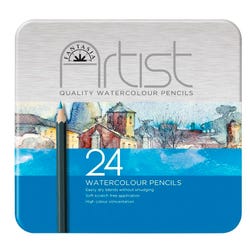
Watercolor Pencils, Set of 24
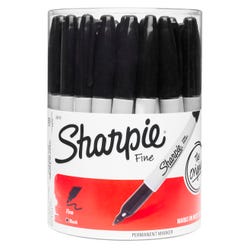
Fine Permanent Markers, Black, Canister of 36
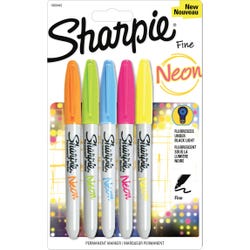
Fine Permanent Markers, Neon, Set of 5
Watercolor Paper 18 x 24 inches, 90 lb, Natural White
Spray Bottle, Pack of 3
Sponge
Water containers
Paper Towels
Painter’s Tape 1”
*Here are the supplies needed for this lesson plan for reference. Find a convenient carousel of shoppable products for this lesson below.
Standards
Standard #1: Generate and conceptualize artistic ideas and work.
Standard #2: Organize and develop artistic ideas and work.
Standard #3: Define and complete artistic work.
Standard #10: Synthesize and relate knowledge and personal experiences to make art.
Instructions
1
Teacher/Student discussion of botanical objects in a garden setting. Teacher will show various images. (It is also good for students to investigate and bring in images of their own choosing.)
2
Students will take a sheet of 90-lb. watercolor paper and mask down to a surface area. The tape will allow the paper to remain flat while painting on it as well as create a clean framed area once the tape is removed.
3
With either a sponge or large, flat brush, students will spread clean water over the surface of their paper, being careful not to create puddles. NOTE: Do not scrub with the brush. Doing so may break down or tear the paper.
4
Students will place a dime-size amount of Acrylic Gouache onto their palette and, with a brush loaded with water, will spread some of the paint into a section of their palette. This will make the paint the consistency of watercolor.
5
Students will then paint sections of their paper using very free-formed shapes that will represent their botanical images. Students will also take color to add stems and leaves to their shapes.
6
Repeat the color-mixing process and begin to fill in surrounding areas of the composition. REMEMBER that everything at this stage is to appear loose and organic.
7
While wet, students will take a spray bottle and gently spritz their paper. This will allow pigment to shift and create “spotting” or “flecking” in areas of the composition.
8
Once dry, students will take pens and begin to add contour lines to their shapes. This will begin the process of giving structure to the botanical pieces.
9
Afterwards, students will take a black pen and further add distinction to their shapes.
10
Using Watercolor Pencils, students will create add additional objects to foreground, middle ground, and background. Once drawn and filled in, students will use a brush and, with limited water, begin to paint over the colored objects.
11
Further details may be added either with marker pens or with the watercolor pencils.
12
Once completely dry, carefully remove tape so as not to tear the paper.


