Close

Accordion Fold Weaving
Lesson Plan, Grades 9-12, Art, Math, Sax, 3-D, Crafts
Description
Lesson Plan and Artwork by Annette Johnson
The history of paper sculpture had its beginnings in Japan with the introduction of origami. origami began sometime after Buddhist monks brought paper from China in the 6th century. During this time origami was used primarily in religious ceremonies because of the high cost of paper. The first known origami book was printed in Japan in 1797. Paper folding in Europe began about 1498. Students will use Sax Colored Art paper to create their own paper sculptures.
Objectives
- Practice examples of simple origami folds such as valley and mountain fold.
- Create a color palette, choosing from analogous, complimentary or contrasting colors to enhance their paper sculptures.
- Study pop-ups, paper engineering and origami.
Supplies Needed
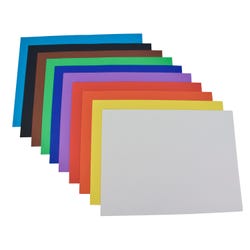
(All Sax® Colored Art Paper comes with 50 sheets.)
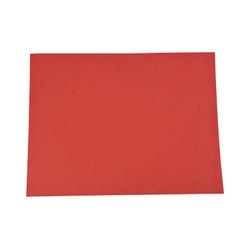
Sax® Colored Art Paper, 12 x 18 in, Red
Sax® Colored Art Paper, 12 x 18 in, Hot Pink
Sax® Colored Art Paper, 12 x 18 in, Violet
Sax® Colored Art Paper, 12 x 18 in, Dark Violet
Sax® Colored Art Paper, 12 x 18 in, Sky Blue
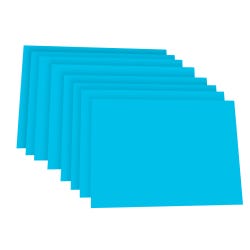
Sax® Colored Art Paper, 12 x 18 in, Cyan Blue
Sax® Colored Art Paper, 12 x 18 in, Ultramarine Blue
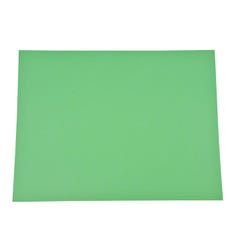
Sax® Colored Art Paper, 12 x 18 in, Emerald Green
Sax® Colored Art Paper, 12 x 18 in, Yellow Green
Sax® Colored Art Paper, 12 x 18 in, Yellow
Sax® Colored Art Paper, 12 x 18 in, Yellow Orange
Sax® Colored Art Paper, 12 x 18 in, Orange
Sax® Colored Art Paper, 12 x 18 in, Black
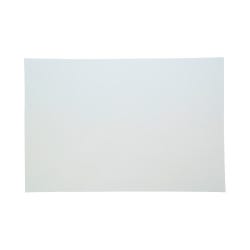
Sax® Colored Art Paper, 12 x 18 in, White
School Smart® Railroad Board, 22 x 28 in, 6-Ply, White, Pack of 25
School Smart® Foam Board, 20 x 30 in, White, Pack of 10
Elmer’s® Glue-All®, 16oz., White Dries Clear
Standards
Standard #1: Generate and conceptualize artistic ideas and work.
Standard #3: Refine and complete artistic work.
Standard #5: Develop and refine artistic work for presentation.
Standard #7: Perceive and analyze artistic work.
Standard #10: Synthesize and relate knowledge and personal experiences to make art.
Instructions
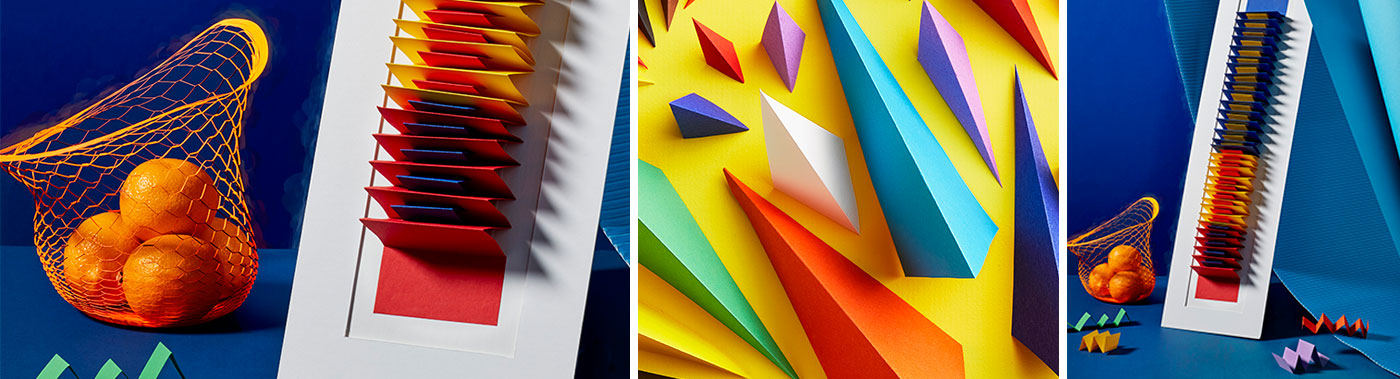
Choose at least 2 colors for your 3-D Sculpture. The image pictured with this lesson plan uses three colors and additional strips. The Red Base Unit is one 3” x 18” strip, Yellow Base Unit has two 3” x 18” joined sections and the Blue Base Unit uses three 3” x 18” joined strips. The completed size of this sample is 7” x 25”.
Base Strip
1
Cut several strips 3” x 18” of your base color.
2
Mark the length of the strip every 1-1/2” on the top and bottom edges of the strip.
3
Use the stylus stick as a burnisher. Line a ruler with the top and bottom marks on the strip and score a line with the burnisher from top to bottom.
4
Turn the strip over and using a pencil draw light lines 1/2” in from each 18” edge.
5
Starting at the 3rd section measure in 3/4” from the left scored edge, place a mark at the top and bottom of strip where the 1/2” line is drawn. Continue to mark the strip to the last section.
6
Using a knife and metal ruler cut all the lines drawn at the 3/4” marks, cutting between the 1/2” lines at the top and bottom edges.
7
Turn strip back to the front. Fold back and forth along the scored marks. Set creases with bone folder. Take care not to tear where you have cut the slits. Set aside and complete the Weaving Strip.
Weaving Strip
8
Cut several strips 11/2” x 18” of second or additional colors.
9
Mark the length of the strip every 11/2” on the top and bottom.
10
Use the stylus stick as a burnisher. Line a ruler with the top and bottom marks on the strip and score a line with the burnisher from top to bottom.
11
Fold back and forth along the scored marks. Set creases with bone folder.
Joining Base and Weaving Strips
12
Place the first base unit with the ends facing up.
13
Place weaving strip facing down.
14
From the bottom of the base strip pull the weaving strip through the slit to the top. 11/2” sections will remain below the surface. Fold the loose end in half and glue to the back of section 2 at the bottom edge.
15
Continue weaving up and down through the base unit slits. ½ of each weaving strip will be above the slit and ½ will be below. A different color will be visible between every other fold of the base unit.
16
Add additional base and weaving strips until you have attached the final strip. Fold the loose end in half and glue to the back of section 11 at the bottom edge.
17
Glue in place on foam board backing sheet. See Finishing section.
Finishing
18
Cut foam board to 7” x 20”. Measure 2” in from all sides and draw a light line.
19
Glue one of unfolded ends (11/2” x 3”) to foam board.
20
Line the woven accordion folded strip against one of the long lines you drew on the foam board. The other unfolded end should be within the pencil outline. Use a ruler to determine how close your folds will be. Make a note of this measurement.
21
Lay the strip back over the end you have glued to the board. Apply 3 lines of glue to the foam board about a ½” from each edge and one down the center inside the pencil line. Apply the glue 2” to 3” at a time.
22
Place a ruler along the pencil line as you place the strip on the glue use pins to hold it against the glue. At the intervals you noted approximately every ½” more or less.
23
Keep applying glue and pinning in place until your whole strip is attached to the foam board. Gluing the final unfolded end.
Adding Additional Strips
24
The end of the first strip is altered by cutting a slit in the 11th section and the last or 12th section is cut to a ½” tab.
25
Glue the ½” tab and place the first part of the next section on top of the tab to attach both sections.
26
Depending on how many additional strips (12 sections) are added all sections may have weaving slits cut into them. Sections 1 through 11 would have slits and the last or 12th section would be cut to a ½” tab for gluing to additional units.
27
End strip – Sections 1 through 10 will all have slits cut into them. Sections 11 and 12 will not have slits. These last 2 plain sections complete the paper sculpture. See Finishing section.
Note: Decide all colors to be used and in what order they will be used. Decide the number of strips and prepare them up to where they will be joined.