Close

Wax Pastel Spiral-Woven Basket/Bowls
Lesson Plan, Grades 5-8, Art, Math, Social Studies, Seasonal, School Smart, Sax, Reeves
Description
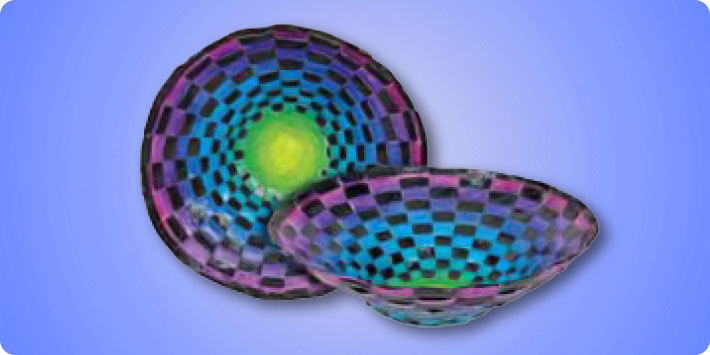
Woven containers have been used functionally as well as decoratively in cultures world-wide throughout history. These basket-bowls are created using two hand-made 100% rag paper circles, painted with water soluble wax pastels and then woven into one another.
Objectives
- Students will become familiar with basketry of different cultures and times.
- Students will observe the use of mathematical patterns in the weave of baskets.
- Students will create baskets using unconventional materials.
Supplies Needed
Reeves Water Soluble Wax Pastels
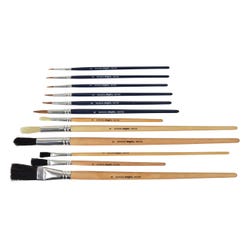
School Smart® Econo Paint Brush Assortment - Set of 12
Sax® Economy Watercolor Paper - 90 lb - 18 x 24 - Pack of 50 - White
Sax® True Flow® Tempera Matte Varnish - 1 Gallon
Also needed:
Scissors
Compasses
Pencils
Standards
CONTENT Standard #1: Understanding and applying media, techniques and processes.
CONTENT Standard #4: Understanding the visual arts in relation to history and cultures.
CONTENT Standard #6: Making a connection between the visual arts and other disciplines.
Instructions
1
Discuss and examine examples of baskets from various cultures throughout history. Point out the use of geometric patterns in their designs.
2
Cut two 9" circles from two sheets of the Watercolor Paper.
3
Use the Reeves Water Soluble Wax Pastels to draw/paint both circles with the same simple design.
4
Color/paint the backs of the circles using shades of one color to cover the entire circle. As an option you could also paint the backs with Reeves Acrylic paint.
5
When dry, coat both sides of the circles with Sax® Tempera Varnish using a clean, soft, dry brush.
6
When varnish is dry, draw a small circle in the middle of both backs, the desired size of the bowl bottom, using a white or light colored wax pastel. (Erasing can be accomplished with a damp rag.) Then draw an ODD number of very, very slender V shapes all around the bottom circle, extending outward to the circumference. An even number will not work!
7
Cut out the Vs creating an ODD number of flaps around the bottom.
8
On the back of second circle, draw a line spiraling from the bottom circle to the circumference, leaving at least 1/4" or more between the spiraling rings. Carefully cut the spiral in one continuous strip.
9
Cut the spiral strip from its center circle by diminishing the strip width to a point. 1
10
Start weaving the pointed end of the spiral strip from the bottom circle with the V-shaped flaps. Keep the weaving fairly tight to raise the sides. The strip must coil inward. You have the option of using a traditional checkerboard pattern or keeping the outside solid and the inside designed by determining which side of the spiral strip will face outward. Trim the rim when the strip reaches the circumference and extends over the flaps. 1
11
Use Tempera Varnish to adhere the rim flaps to the strip and coat again, if desired, to add extra strength. Option:A flat mat may also be created using this method by replacing the V-shaped cuts with slits in Step 6.