Close

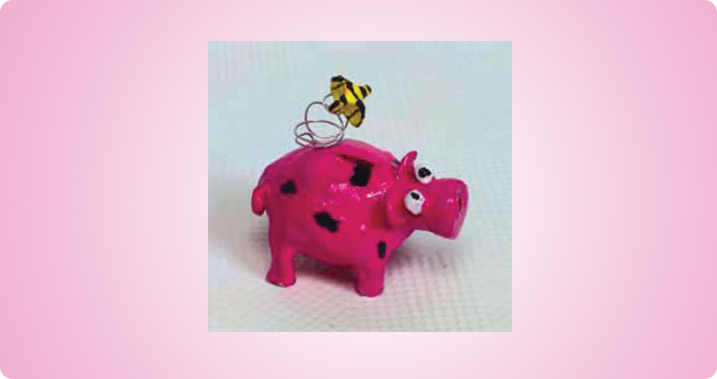
Crazy Critter Whistles
Lesson Plan, Grades 5-12, Art, Social Studies, Music, Science, Sax
Description
This easy, and fun three-dimensional project combines different media and subject matter. It can be adapted to any age or skill level and incorporates art, music, history, and science. Clay whistles date back to early civilization and have taken on various forms over the years. Have your students research the history and incorporate different ideas into the process.
Objectives
- Students will identify historical and multicultural uses and forms of whistles.
- Students will demonstrate sufficient skill in working with clay that their whistles are well crafted and function as whistles.
Supplies Needed
DAS Air-Hardening Modeling Clay, 11 lbs, White
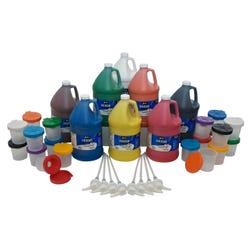
Sax Versatemp 8 Gallon Kit
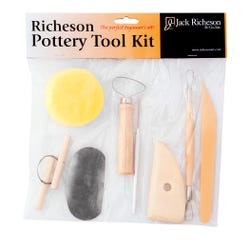
Pottery Tool Kit, 8-Tool Set
Beadalon Copper Wire Assortment, 20-Gauge, 12-Spool Set
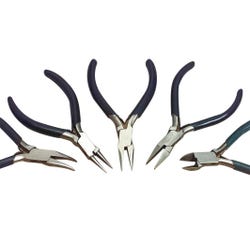
Box Joint Pliers Kit
Sax True Flow Tempera Varnish, Quart
Sax Overstock Brushes, Set of 20
Standards
CONTENT Standard #1:
Understanding and applying media, techniques and processes.
CONTENT Standard #6:
Making connections between visual arts and other disciplines.
Instructions
1
Take 2 equal balls of clay (about 2" to 3" in diameter) and make 2 pinch pots. Stick the pots together to make a hollow form. This is the body of the whistle. It does not have to be perfectly spherical. Make sure the pots are "pinched" together around the seams with no visible holes.
2
Make a small block of clay (about 1" to 2" square) and attach to the top of the form. The top of the block should be aligned with the top of the hollow form. Insert a needle tool or small stick through the clay block and into the hollow form. The top of the needle tool or stick should be aligned with the inside top edge of the hollow form.
3
Cut an angled opening in the hollow form, at the approximate point where the needle tool or stick enters the form. The opening should be slightly smaller than the block is wide and the angle edge should be cut on a 45-degree angle. Blow into the block end to produce a single note whistle sound. The air travels through the block opening, into the hollow form chamber, and is split over the 45-degree angle to produce the whistle sound. Note: The angled opening should be about 1" to 2" in length with the angle and actual cut-out equal in size.
4
To change or add to the pitch of the whistle, add additional holes around the top or sides. Usually no more than 3 to 4 holes should be added, with the holes being no larger than the width of a pencil. Vary the size of the holes to produce different sounds. As the clay dries and shrinks, the sounds change.
5
Decorate, by adding appendages or carving into the clay. At this time, paint can also be applied as well as any other medium. Cover with Sax Tempera Varnish to add additional strength.When adding any appendages, make sure the clay is properly wedged or pinched together. Failure to do so will lead to structural faults.