Close

Marginal Art
Lesson Plan, Grades 9-12, Art, Art History, Math, Drawing, Painting
Description
Lesson Plan and Artwork by Franz Spohn
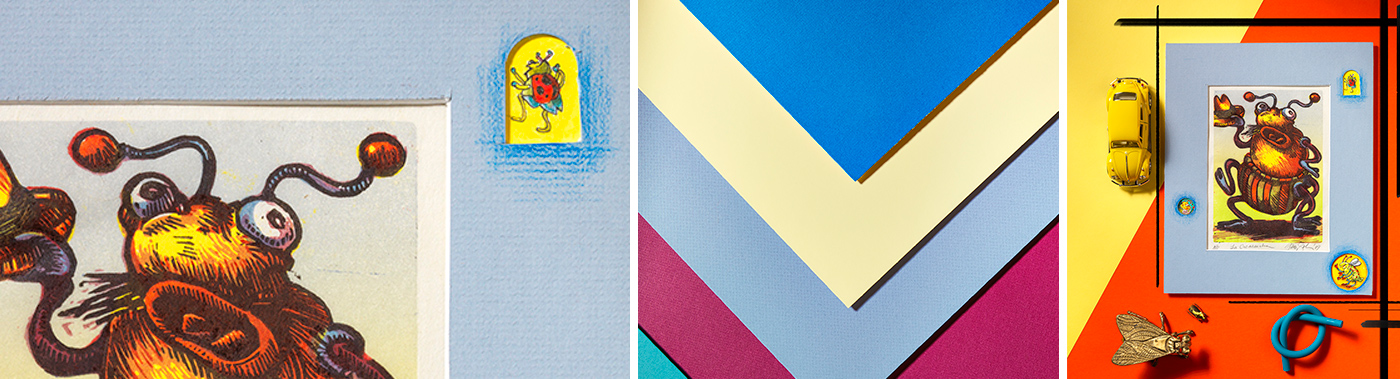
The traditional function of a mat is to provide the viewer a piece of artwork surrounded by a neutral space. For this project, students will use the borders of a mat as a platform for annotation – an opportunity to provide additional visual reference to the very work itself. As a historical reference to a similar approach, consider Medieval sacred texts, often referred to as illuminated manuscripts. (Book of Kells, Lindisfarne Gospels and especially the later Book of Hours of John, Duke of Berry).
Objectives
- Develop measuring and cutting skills
- Learn how to mat artwork
- Critically assess art in terms of style and content and respond visually in a personal fashion
- Learn about and use Medieval illuminated books and other texts reference to visually annotate contemporary works
Supplies Needed
Crescent® No. 33 Smooth White Mat Board 20 x 32 in, Pack of 10
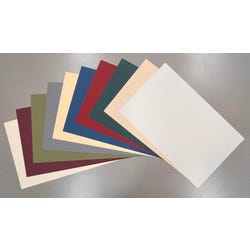
Crescent® Decorative Mat Board Assortment 20 x 32 in, Pack of 10
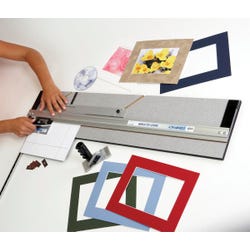
Logan® 350-1 Mat Cutter
Westcott® Safety Blade Box Cutter
Standards
Standard #1: Generate and conceptualize artistic ideas and work.
Standard #2: Organize and develop artistic ideas and work.
Standard #3: Refine and complete artistic work.
Standard #7: Perceive and analyze artistic work.
Standard #11: Relate artistic ideas and works with societal, cultural and historical context to deepen understanding.
Instructions
1
Mat a piece of artwork using either a Crescent white or decorative color mat board.
2
Measure the height and width of the selected piece. Allow at least 1/4” of it to be covered by the inner edge of the opening. If using a print, allow for the window opening to accommodate a 1/4” border around the edge of the printed image and the edition documentation and signature.
3
Choose width of the mat margins, multiply by 2 and add to the width and height of the intended opening.
4
Cut a piece of mat board to these dimensions. Measure and mark the desired margin width in several places on the outside edges of the mat board. Draw guide lines using these marks. This process should properly center the window opening.
5
Bevel cut the mat opening along the lines with a mat cutter or utility knife. Make sure the blade is sharp to ensure a crisp edge, especially at the corners.
6
Remove the “scrap” piece to reveal the mounted art.
7
Bevel cut a piece of foam board to the same outside dimensions of the mat. Place cut mat (face down) and the foam board top to top and hinge together with a clear piece of packing tape that is the length of the seam. Fold mat board over and align with the backing board.
8
Slip finished artwork under the mat and position to mat window. Lift and attach artwork to the backing.
9
Add visual annotations by drawing, painting, etc. directly onto the mat a compositional plan or one image at a time, using a more intuitive approach. Cut additional openings and mount smaller images to be viewed through these extra window openings if desired. These annotations will add an extra dimension of understanding.