Close

Layered Monotypes
Lesson Plan, Grades K-12, Art, Language Arts, Math, Science, Sax, Printmaking
Description
Lesson Plan and Artwork by Dana DuMont
This lesson uses inventive processes that encourage students to use variety of Sax materials to build up complex compositions as they draw, paint and print. Students will examine the work of Rick Bartow, Rozeal, Degas, and the Cape Dorset Printmakers to explore techniques, effects, and subject matter to create these layered unique monotype prints.
Objectives
- Examine works by artists in multiple disciplines discuss their varied styles, and explore ideas for layered images.
- Plan and select contrasting colors for papers and inks while also planning color groupings for ink layers.
- Manipulate and experiment with Sax printing and painting media in combination with other mediums to create a collection of monotypes.
Supplies Needed
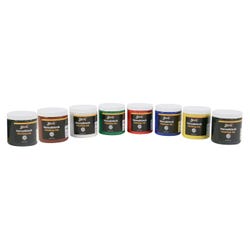
Sax® Versablock Block Printing Inks, 8 Ounces, Assorted Colors, Set of 8
Sax® Block Printing Paper, 9 x 12 Inches, 60 lb, White, 100 Sheets
Sax® True Flow® Acrylic Medium, Quart, Matte
Sax® True Flow® Heavy Body Acrylic Paint, Assorted Colors, Quarts, Set of 6
Stu Art Budget Ready Mats with No Back, 11 x 14 Inches, White, Pack of 50
Sax® Unmounted Linoleum, 4 x 6 Inches, Pack of 12
Sax® Unmounted Linoleum, 6 x 9 Inches, Pack of 12
Sax® Unmounted Linoleum, 9 x 12 Inches, Pack of 6
Sax® Unmounted Linoleum, 12 x 12 Inches, Pack of 6
School Smart® Paper Die-Cut Round Lace Doily, 4 Inches, White, Pack of 100
School Smart® Colored Pencils, Assorted Colors, Set of 25
School Smart® Permanent Marker, Broad Chisel Tip, Assorted Colors, Set of 48
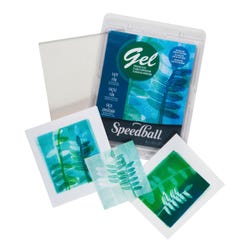
Speedball® Gel Printing Plate, 5 x 5 Inches
School Smart® Butcher Kraft Paper Roll, 40 lbs, 24 Inches x 1000 Feet, Brown
Speedball® Gel Printing Plate, 5 x 7 Inches
Speedball® Gel Printing Plate, 8 x 10 Inches
Speedball® Soft Rubber Brayer with Plastic Handle, 4 Inches
Speedball® Soft Rubber Brayer with Plastic Handle, 2 Inches
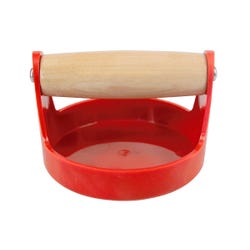
Speedball® Red Baron™ Wood Handle Baren for Block Printing, 4 Inches, Red
Inovart™ Combination Inking Plate and Bench Hook, 7 x 9 Inches
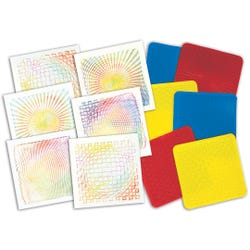
Roylco® Optical Illusion Rubbing Plates, 7 x 7 Inches, Set of 6
Creativity Street® Jumbo Natural Wood Crafts Sticks, Pack of 100
Westcott® Squares Template, 4 x 7-1/4 Inches, Pack of 3
Westcott® Circles Template, 45 Circles, Pack of 3
Speedball® Adjustable Linoleum Number 1 Cutter Set, Set of 6
Grafix® Acetate Pad, 9 X 12 in, Clear, 25 Sheets/Pad
Fiskars® Student Scissors, 7 Inches, Pointed Tip, Color Will Vary
Ticonderoga® EnviroStiks™ Pencils, No 2 Tips, Pack of 12
*Here are the supplies needed for this lesson plan for reference. Find a convenient carousel of shoppable products for this lesson below.
Standards
Standard #1: Generate and conceptualize artistic ideas and work.
Standard #2: Organize and develop artistic ideas and work.
Standard #3: Refine and complete artistic work.
Standard #4: Select, analyze and interpret artistic work for presentation.
Standard #5: Develop and refine artistic work for presentation.
Standard #7: Perceive and analyze artistic work.
Standard #8: Interpret intent and meaning in artistic work.
Standard #9: Apply criteria to evaluate artistic work.
Standard #10: Synthesize and relate knowledge and personal experiences to make art.
Instructions
1
Have students research how and why artists layer color, and text in their compositions.
2
Discuss monotype printing vs. other printing techniques. Introduce or review color theory including analogous, complementary, primary, and secondary colors.
3
Add student names to the back of Sax Block Printing papers with pencil. If desired, draw letters or images with permanent marker on front of paper.
4
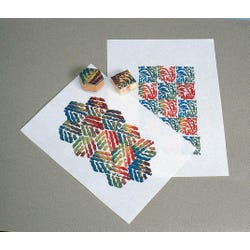
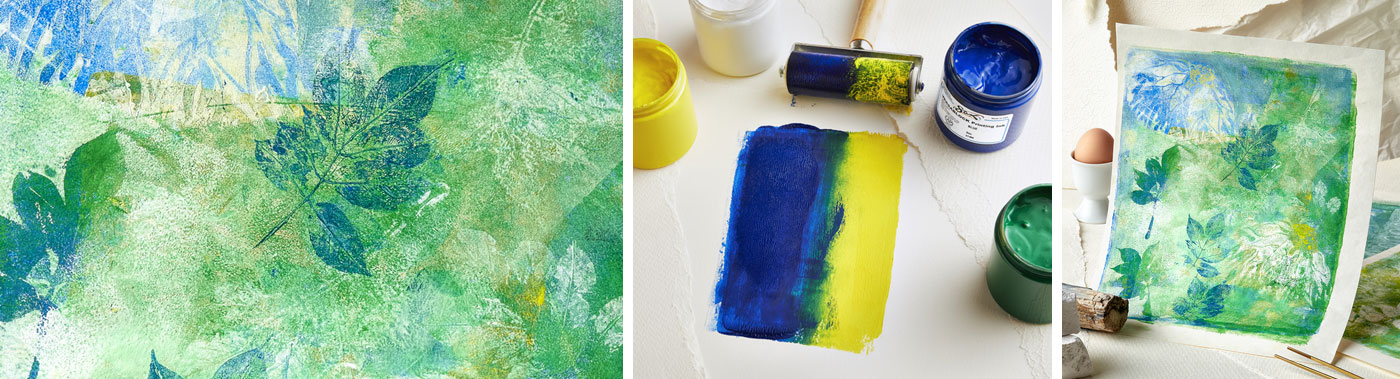
Spoon out Sax Versablock Printing Inks onto trays and plates. Roll a thin layer of ink on an inking plate or gel plate, then place, press firmly and remove texture plate, leaves, stencils, etc. onto ink to make an impression in the ink. Place paper on top and rub with one hand as the other hand holds the paper firmly in place. Slowly remove the paper and assess the first layer. This process can end with a single layer or with many layers and can be made using a single size of printing plate or multiple sizes.
5
The next layer(s) can be added while the print is wet or dry. Alternatively, students can make all the first layers during a first session and add more layers or surface drawing in another.
6
Once dry, prints are collected, sorted, and if desired, details can be added using colored pencils.
7
Review high and low contrasting color selection before choosing mat color.
8
Final critique can include discussion of art influences, choices made in-process, surprise effects created, messages communicated, challenges in the process, and favorite completed works.