Close

Illuminated Manuscript
Lesson Plan, Grades 6-12, History, Art, Sharpie, Drawing
Description
Lesson Plans and Artwork by Jack Matthews
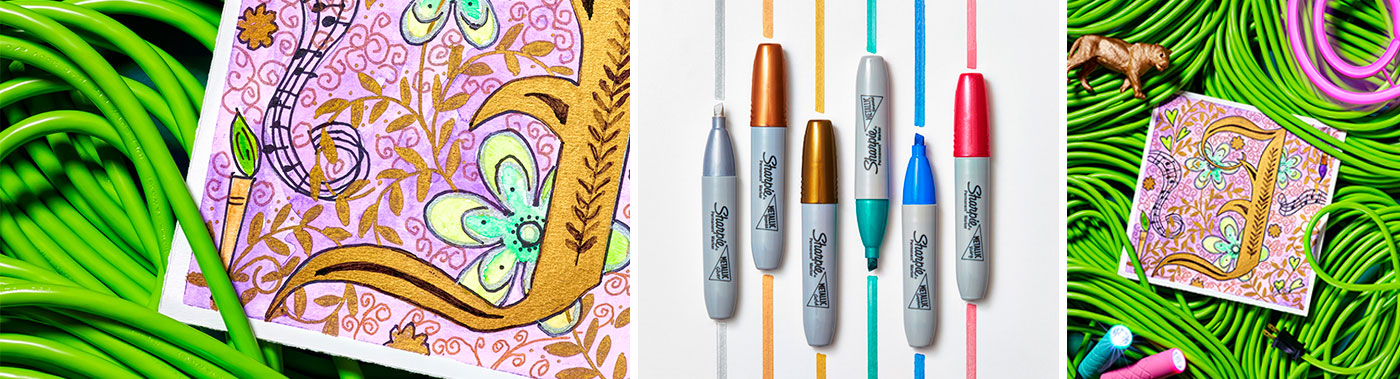
Is there anything more poetically beautiful than an Illuminated Manuscript? Dating back to the 13th Century and even before that, the Illuminated Manuscript was both story and art. This lesson will allow students to try their hand at lettering and creative design using a combination of metallic paints and markers.
Objectives
- Study the history of Illuminated Manuscripts
- Develope skills in writing the English alphabet using a chiseled marker
- Design an image(s) that will enhance their manuscript design in one of three ways: border, central figure, or both
Supplies Needed
Sharpie® Metallic Permanent Markers, Fine Tip, Assorted Colors, Pack of 36
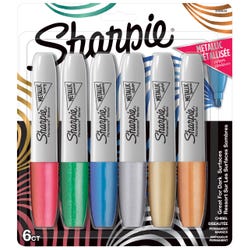
Sharpie® Metallic Permanent Markers, Chisel Tip, Assorted Colors, Set of 6
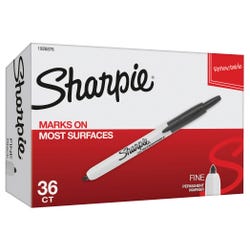
Sharpie® Fine Point Permanent Marker Value Pack, Black, Pack of 36
Jack Richeson™ Newsprint Pad, 9 x 12 in, 32 lb, 50 Sheets
Jack Richeson™ Watercolor Paper, 9 x 12 in, 135 lb, 50 sheets
Jack Richeson™ Art Paint, 15 Color Set
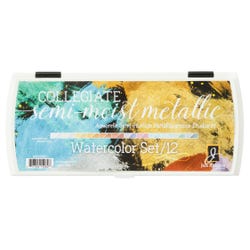
Jack Richeson™ Semi-Moist Collegiate Watercolors, 12 Metallic Colors
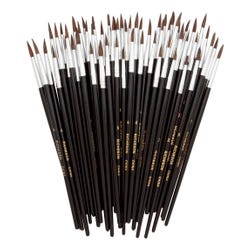
Jack Richeson™ Short Wood Handle Camel Hair Paint Brushes, Assorted Sizes, Pack of 60
Jack Richeson™ Plastic 7 Well Palette Trays, 31/4 x 71/4 in, Pack of 12
Ticonderoga® Pre-Sharpened #2 Pencil with Eraser, Pack of 72
3M™ 201+ General Use Masking Tape, 1 in x 60 Yards, Tan
Standards
Standard #1: Generate and conceptualize artistic ideas and work.
Standard #2: Organize and develop artistic ideas and work.
Standard #3: Refine and complete artistic work.
Standard #6: Convey meaning through the presentation of artistic work.
Standard #10: Synthesize and relate knowledge and personal experiences to make art.
Standard #11: Relate artistic ideas and works with societal, cultural and historical context to deepen understanding.
Instructions
1
Discuss with students the history and imagery of Illuminated Manuscripts.
2
Discuss the use of written language and the kind of lettering used. Share with students example sheets of the alphabet they will be able to use.
3
Students will practice making letters by marking off ruled lines on drawing paper. Students will then use a chiseled marker to recreate the letters onto their paper. THIS IS ALL PRACTICE.
4
Students will decide what letter they would like to utilize in their design.
5
Students will block off a 7.5” x 7.5” area on newsprint and draw their letter into that area.
6
Once satisfied with their drawing, students will lay transfer paper over their 9” x 9” watercolor paper; Place completed drawing on top of the transfer paper, students will carefully trace their letter so that it transfers onto the watercolor paper.
7
Students will decide what their border/background design will be. Most often, it is represented by floral shapes. Students will draw these with pencil. To make it a personal statement, have students select their own initial, items that represent who they are and their favorite color(s). NOTE: DRAW LIGHTLY
8
Students will use metallic chiseled markers to fill in letter.
9
When ready to paint, have students use masking tape to tape down watercolor paper. This will create a clean border all around.
10
Students may go ahead and trace all images with fine tip black permanent pen.
11
Students will use paint like watercolor as well as metallic watercolors to paint background and background shapes. The paint should resist the markers that have previously been used. If there are any issues, students can retrace all areas should the marker be covered or made less clear.
12
When finished, carefully remove masking tape.