Close

Clay Metallic Weaving
Lesson Plan, Grades 4-9, Art, Math, Ceramics & Sculptures, 3-D

Description
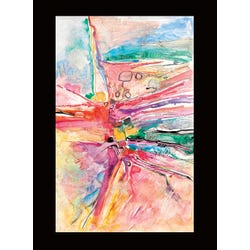
Lesson Plan and Artwork by Nadine Dresbach
Students will use Das Junior Air-Hardening Clay, textured plates and metallic paints to create a striking woven piece. This lesson allows students to strengthen their hand building skills and focus on creating complementary contrasts of color and texture. Creating the consistent length, width and depth of the woven strips brings in math elements.
Objectives
- Use clay medium to experiment with different colors and textures to find which ones complement each other.
- Develop hand building skills when rolling, cutting, manipulating, and weaving the clay.
- Explore elements and principles of design creating their piece with color, contrast, and texture.
Supplies Needed
DAS Jr® Air-Hardening Modeling Clay, 3.53 oz, Set of 24
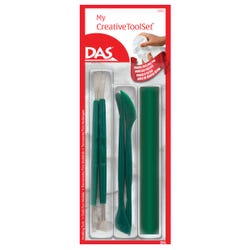
DAS® My Creative Tool Set, Set of 5
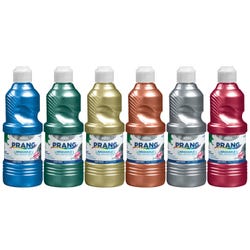
Prang® Ready-To-Use Washable Special Effects Paint, Metallic, Pint, Set of 6
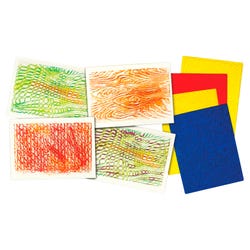
Roylco® Texture Rubbing Plates, Set of 4
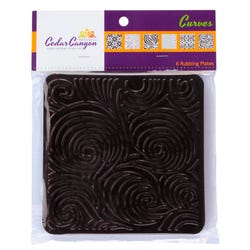
Jack Richeson™ Rubbing Plates, Curves, Set of 6
Crescent® 8 Ultra Black™ Mounting Board 10 x 15 in, Pack of 15
Standards
Standard #1: Generate and conceptualize artistic ideas and work.
Standard #2: Organize and develop artistic ideas and work.
Standard #3: Refine and complete artistic work.
Standard #7: Perceive and analyze artistic work.
Standard #9: Apply criteria to evaluate artistic work.
Instructions
1
Examine the available color selections of the Das Junior Clay and various texture plates.
2
Select two clay colors that complement each other and two textures, one for each color.
3
Optional: Divide up one or two packages of the clay and let students experiment with the different selected textures. Save these test pieces for students to determine what color they will use to rub on top of their texture.
4
Select the color of paint that will be used to accent the top of the texture once it is applied to the clay.
5
Take one package of Das Junior Clay and cut off 1/4 of the package at a time. This is a firm clay, so have students use their hands to squeeze that small rectangle into a flattened rectangle before rolling. DO NOT overwork the clay. Once it is squeezed into a flat rectangle use the Das rolling tool to roll the rectangle into a smooth flattened rectangular/oval shape approximately 5-inches long and just under ¼” thick.
6
Apply the flattened clay to the selected texture plate and use the clay roller to apply pressure to pick up the pattern. The clay will then be approximately 1/8” thick.
7
Take the patterned clay and cut it into equal width strips approximately ¼” - 1/3” wide. You can use the Das Clay Knife for this process, or the clay can be cut with scissors. (Hint: It is helpful to create a template for the strips out of chipboard or acetate.)
8
Place the strips of clay on a piece of acetate or plastic (not cardboard because it will absorb the moisture from the clay). Slide them into a zippered plastic bag when they are not in use and they will stay pliable for several weeks.
9
Next, apply the paint very gently across the top of each strip using a brush or fingertip. Wipe off excess where it is not desired. Store in the plastic bag after the paint has set.
10
When dried to the touch, weave the strips and alternate colors. Push down the edges to lock them into place. The clay will shrink as it dries.
11
Mount or hang as desired once completely dry.