Close

Bisquette Trivets
Lesson Plan, Grades 7-12, Art, Social Studies, Math, Ceramics & Sculptures, 3-D
Description
Lesson Plan and Artwork by Annette Johnson
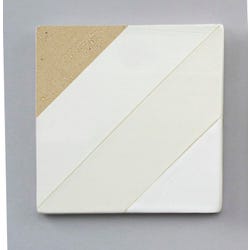
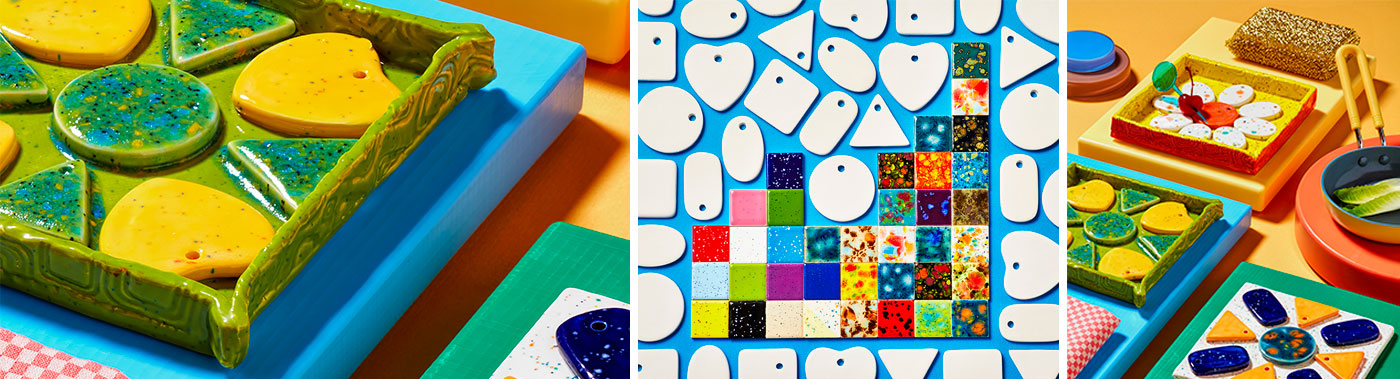
A Trivet is a tile used to shield a surface (table) from a hot pot, cooking container, or dish. These trivets are created by placing bisque-fired clay shapes (called bisquettes) onto a clay tile background. The arrangement of clay shapes on the tile is similar to a quilt pattern block.
Objectives
- Research quilt patterns.
- Learn how to arrange the bisquette to create a quilt or radial design pattern.
- Experiment with glaze choices to complete their design.
Supplies Needed
Mayco® Rubber Retro Squares Designer-Texture Mat, 7 X 9 in
Mayco® Square Slump and Hump Mold, 71/2 X 71/2 X 21/2 in
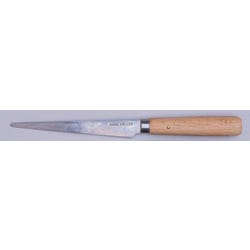
Kemper Fettling Knife, 41/2 in, Soft Pliable Steel Blade, Wood Handle
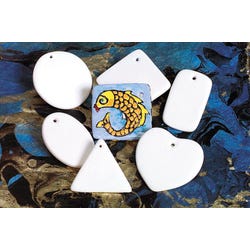
Mayco® Bisquettes™ Ceramic Medallion Assortment, White, Set of 150
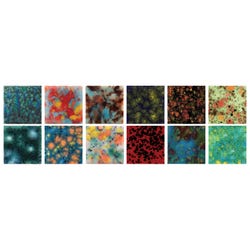
Mayco® Jungle Gems™ Glaze, 1 Pint, Assorted Colors, Set of 12
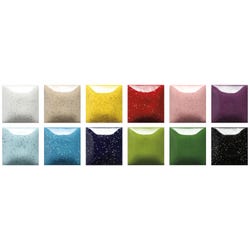
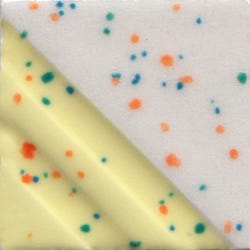
Mayco® Speckled Stroke & Coat® Set, Assorted Colors, 12 Pints
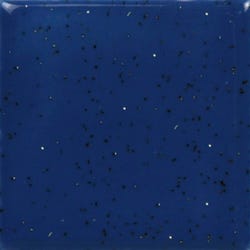
Mayco® Speckta-Clear Glaze, 1 Pint, Star Dust
Mayco® Speckta-Clear Glaze, 1 Pint, Celebration
Sax® Low Fire Moist Earthenware Clay, White, 50 lb
Falcon 1-Piece Hardwood Clay Roller, 18 x 101/2 in
Standards
Standard #1: Generate and conceptualize artistic ideas and work.
Standard #2: Organize and develop artistic ideas and work.
Standard #3: Refine and complete artistic work.
Standard #4: Select, analyze and interpret artistic work for presentation.
Standard #7: Perceive and analyze artistic work.
Instructions
1
Once the favored design is chosen, students trace around the clay shapes with a pencil. What shape will the background tile be? Make sure the background tile shape does not have sharp or pointy edges, as they will break.
2
Colors are chosen for the clay tile and the plan is colored in with color pencils. What will the background color(s) be? What color pattern will the bisquettes be? Warm, cool, analogous, complimentary, etc?
3
Wedge up 11/2 to 2 lbs. of clay and roll out with rolling pin and guide sticks to 1/4 inch thickness.
4
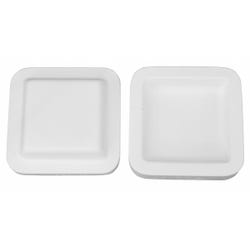
Decide if background tile will be flat or have borders. If available, students may place their moist tile into a plaster hump and slump mold, by gently skootching the clay into the bottom (concave) half. This action is like making a bottom pie crust. Press the convex half over it. Place a towel under the two plaster halves to prevent the mold from cracking, and apply gentle pressure to the mold to create a bowl shape. Trim edges of clay that stick out around the mold with a wooden stick only, so as not to scratch the (soft) plaster. Remove and smooth the form.
5
Mayco® texture mats may be pressed into any moist tiles at this time with a small pony roller. Keep textures to around the edges.
6
Dry all tiles (with students names on back) slowly between boards or drywall, to keep tiles flat. Place sheets of newspaper between clay tile and boards to help drying.
7
When tiles are bone dry, bisque fire to cone 04 (1945 degrees F.).
8
Select your bisquette shapes from your drawn design.
9
Choose your glaze colors for bisquette shapes and background tile. Mayco® Stroke & Coat® or Speckled Stroke & Coat® provide solid colors. Mayco®’s new Speckta-Clear glazes over light or dark colors provide extra shine as well as tiny dots on the fired glaze. Mayco® Jungle Gems™ contain crystals of often contrasting colors suspended in the colored glaze. These burst and flow on the fired piece.
10
Glaze 3 coats onto the background tile you made, then glaze all sides of your bisquettes with three coats of colors you chose in your original drawn design. Be sure each coat of glaze is dry before you apply the next coat.
11
Arrange glazed bisquette shapes on background tile as you planned in drawing, and fire Trivet to cone 05, (1888 degrees F.)