Close

Additions to Editions
Lesson Plan, Grades 5-12, Art, Art History, Printmaking
Description
Lesson Plan and Artwork by Franz Spohn
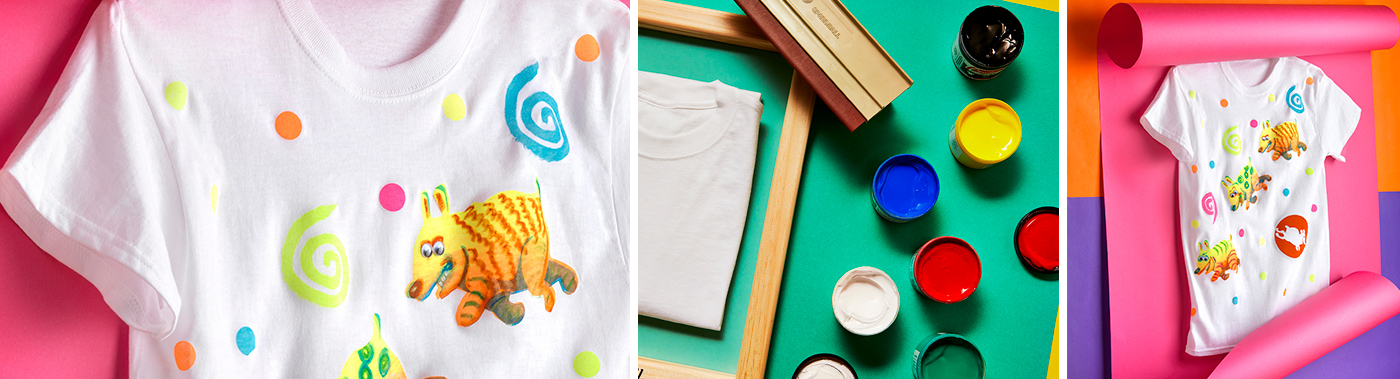
The art of Printmaking is traditionally about producing “editions” – multiple exact copies of the same print. But this aspect of creating multiples can also be used to create unique pieces as well, the parts of which are the repetitive images that can create rhythm and movement to a single composition. Also, these individual visual “units” can comprise the elements of installations and sculptural arrangements. We’ll review artists such as Frank Stella, and Andy Warhol who used this notion extensively in some of their most famous works.
Objectives
- Learn about printmaking and creating editions through basic screen printing techniques
- Learn to think creatively about printmaking multiples for other purposes beyond editions
- Use the screen printing process as a basis for multimedia projects
- Think intuitively in resolving artistic vision
Supplies Needed
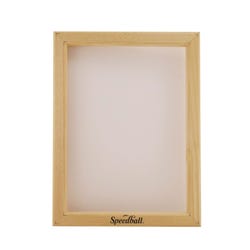
Speedball® Wood Screen with Fabric, 10 x 14 in
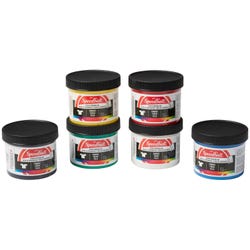
Speedball® Fabric Screen Printing Ink, 4 oz, Set of 6
Speedball® Permanent Acrylic Screen Printing Ink, Hot Pink, 8 oz
Speedball® Economy 9” Fabric Squeegee
Faber-Castell® Watercolor Crayons, Set of 15
Strathmore® 300 Series Newsprint Pad, White, 9 x 12 in, 50 Sheets
3M™ General Purpose Duct Tape, 1.88 in x 55 yds, Gray, Each
School Smart® White Foam Board 20 x 30 in, Pack of 10
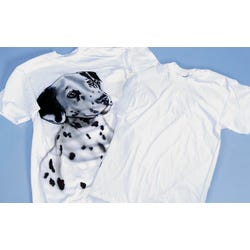
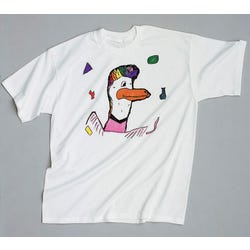
T-Shirt, Adult Small, Each
T-Shirt, Adult Medium, Each
Standards
Standard #1: Generate and conceptualize artistic ideas and work.
Standard #2: Organize and develop artistic ideas and work.
Standard #3: Refine and complete artistic work.
Standard #7: Perceive and analyze artistic work.
Standard #11: Relate artistic ideas and works with societal, cultural and historical context to deepen understanding.
Instructions
1
Prepare the screen by taping out the cord/fabric retaining groove on the back. Place duct tape about 1/4” into the fabric from the wooden frame edge the length of the screen, wrap over the outside corner and firmly press in place. Repeat on all sides. This seals the groove from water and ink and speeds up drying for the next round of printing. Flip screen over and seal off crack between the edge of the screen and the fabric, also with duct tape. Match the edge of the tape with the tape on the reverse side, work into corner and wrap onto the wooden side piece and over.
2
Measure out a piece of freezer wrap; the waxy side will be face up against the back of the screen to protect the stencil from the wetness of the ink to be printed. The “sweet” spot of the screen is in the center and images to be printed should be planned for here and not come any closer than 1” from the edges of the tape.
3
Create a basic shape - this can be a “geometric” abstract or “animal cracker” rounded shape. Try to keep the contour boundary continuous without abrupt jags or points. Cut this shape out with scissors (craft knife for older students) for a sharp clean edge or carefully tear for a softer edge. Keep this created stencil as flat and wrinkle free as possible.
4
Tape to the back of the screen. The portion of the screen that is blocked by the paper stencil prevents ink from penetrating through to the paper below, so the image printed corresponds to the opening in the stencil.
5
Proof onto newsprint to make sure all is as it should be before moving on to cloth or good paper. Place a bead of ink above the stencil shape. One student firmly holds the screen in place while the printer exerts pressure down on the squeegee (use both hands to hold) and uses it to drag ink across the screen (thereby forcing ink to transfer onto the material underneath) at a consistent 45° angle. Make sure the squeegee is approximately 1/2” wider than the shape to be printed. When printing on t-shirts, first mount on foam board; to avoid stripes don’t use cardboard.
6
Before lifting the screen, place the squeegee back to the original position, holding at 45° as if to print, but push away rather than towards the stencil shape…this deposits the ink back onto to the screen for additional screenings. Repeat as desired onto cloth as well as paper. Carefully remove paper stencil (if you would like to use again, it can be delicately wiped clean and left to dry), scrape excess ink off screen and squeegee with plastic or mat board card and wash in water. Drying can be enhanced with a fan.
• NOTE: Speedball fabric screen printing inks are all non-toxic and water-based. Will become permanent when properly heat-set.
7
Repeat as desired to complete composition on cloth or paper. Additionally, shapes can be trimmed and glued to foam board or other materials, enhanced with paint, pencil, crayon, etc. to create assemblages, constructions, collages, etc.
NOTE: Since the fabric acts as a carrier for the stencil material, additional “Floaters” do not need to be attached to the main stencils. If you would like to block out part of the interior of your basic stenciled shape, cut or tear out the desired floater shape. Place on newsprint, position and place screen over the floaters and print. The floater will be in place for subsequent printings.
In most cases, a paper stencil produces a flat, rich and consistent layer of one color of ink. A Split Fountain enables the printer to create a transitional blend from one color to another. Select two (or if fairly large area 3) colors to print and place a bead of each onto the screen with about 1/2” overlap. Gently move the squeegee back and forth, moving a bit to the right and then left to partially blend the ink on the screen. Print several times on newsprint until blend is satisfactory. Print as desired! Place small amounts of ink at either of the ink supply (fountain) to keep blend replenished.
Watercolor crayons, can be employed to create extra details or shading into the flat paper stencils shapes. Place the screen with paper stencil onto a piece of newsprint and apply watercolor crayons directly onto the screen. Too thick of an application will act as a block out and not enough will produce anemic results; experiment to determine when it’s just right. Place one edge of the screen with stencil on the table while elevating the opposite side so that the bottom of the screen is not touching the table. “Flood coat” the screen with ink and pass the squeegee over the screen. Since it is not touching the printing surface, you are simply charging the screen with ink which softens the water based crayons. Place the screen over the area to be printed and with just a bit more pressure, print. You will be transferring the ink as well as the crayon onto to the material underneath. Traces of the crayon will remain in the fabric of the screen to act as a guide for reapplying or try a different configuration. As the crayons are water soluble clean up remains the same.