Close

A Well-Grounded Visual World
Lesson Plan, Grades 7-12, Fine Arts, Math, Art, Sharpie, 3-D, Mixed Media
Description
Lesson Plan and Artwork by Franz Spohn
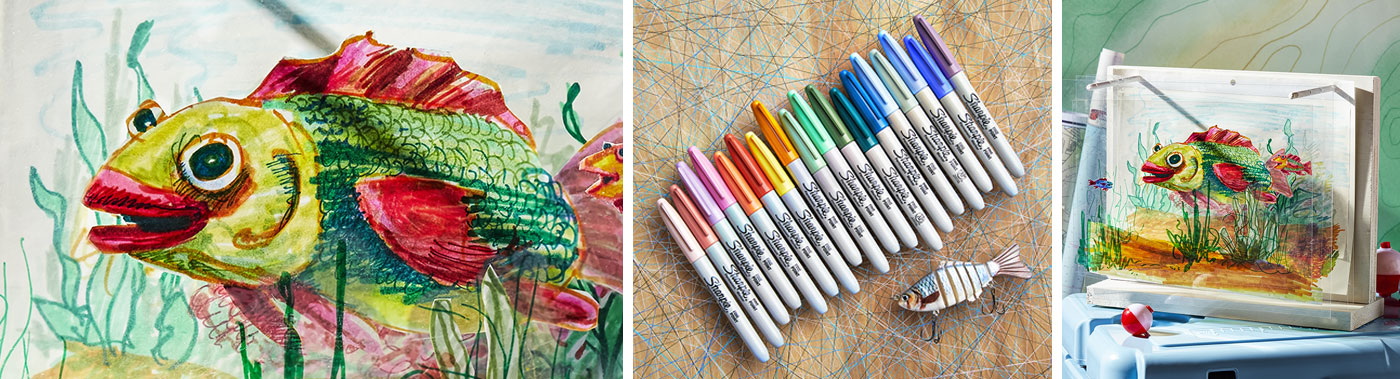
In times of uncertainty we are strengthened by the opportunity to ground ourselves and take control. This project allows students to create their own environment and, at the same time, familiarize themselves with the concept of back, middle and foregrounds. They will visualize their imaginative space and transcribe it onto a series of hanging and overlapping transparencies. These have been drawn upon by markers or by paper images with drawings that have been affixed to the transparencies. Each student will make their own “stage” out of foamboard or a more substantial class stage can be constructed out of wood. The transparency layers will be aligned and punched so that they will hang from dowel rod pieces at the top.
Objectives
- Develop an understanding of visual space (3D & 2D) in terms of back, middle and foregrounds.
- Buttress their spatial presentations by varying intensity and value of color, overlap, size variation, degree of detail, transparency, and position of elements on the “page”.
- Refine their crafting skills in the physical process of building a framework, punching and aligning holes/sheets, measuring and planning an overall orchestration of elements.
Supplies Needed
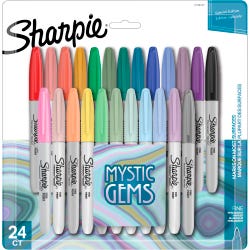
Sharpie® Permanent Markers, Fine Point, Mystic Gem Colors,
Set of 24
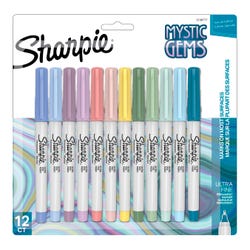
Sharpie® Permanent Markers, Ultra Fine Point, Mystic Gems,
Set of 12
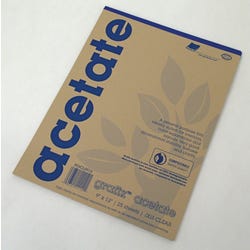
Grafix® Acetate Pad, 9 X 12 Inches, Clear, 25 Sheets
Mixed Media Paper Pad, 98 lb, 9 x 12 Inches, 60 Sheets
Liquitex® Acrylic Gesso, 1 Quart, White
School Smart® Inkjet Transparency Film, 8-1/2 x 11 Inches,
Pack of 50
School Smart® Copier Transparency Film, 8-1/2 x 11 Inches,
Pack of 100
*Here are the supplies needed for this lesson plan for reference. Find a convenient carousel of shoppable products for this lesson below.
Standards
Standard #1: Generate and conceptualize artistic ideas and work.
Standard #2: Organize and develop artistic ideas and work.
Standard #3: Refine and complete artistic work.
Standard #4: Select, analyze and interpret artistic work for presentation.
Standard #5: Develop and refine artistic work for presentation.
Standard #6: Convey meaning through the presentation of artistic work.
Standard #7: Perceive and analyze artistic work.
Standard #8: Interpret intent and meaning in artistic work.
Standard #9: Apply criteria to evaluate artistic work.
Standard #10: Synthesize and relate knowledge and personal experiences to make art.
Standard #11: Relate artistic ideas and works with societal, cultural and historical context to deepen understanding.
Instructions
1
Determine the standard size of the sheets to be used. Each student should have a minimum of 2 transparent sheets and one paper sheet the same size. These can be cut to whatever size is most appropriate. Once the sheets are assembled, use a hole punch to consistently punch through the aligned sheets. These holes will slip over fixed dowels so the sheets will hang approximately 1/2” apart.
2
Build the stage or stages depending on whether there will be one standard unit for the class or if each student will build their own. More substantial frameworks can be constructed out of a wooden panel attached to a base or, for individual stages, foam core pieces can be glued together perpendicularly to create a back plane on a base. Punch a piece of paper with the standard hole punch, align to the back panel and mark hole location. Drill a 1/4” hole in the back, vertical panel and glue dowel rod pieces or skewers perpendicular to the back panel. Allow 1/2” between hanging sheets from each other; a notch can be cut with a craft knife or a coping saw blade to facilitate placing the hanging sheets for proper alignment, one to the other. For more than 3 sheets allow an extra 1/2” for each additional layer.
3
Students can sketch a plan for their world, which can be realistic, surreal, abstract or whatever conforms to their vision. They should consider the ordering of the background, middle ground and foregrounds and what elements and effects will best develop their visual concept. Similarly to stage flats an illusionary 3D space is created by transposing a series of 2D planes so when viewed as a whole the illusion of space is created.
4
The markers can be used directly on the clear acetate sheets, resulting in transparent markings. When seen through other such layers they will create a visual blending of color.
5
The markers can be used on paper, (note: these markers will bleed through most papers) especially on a sheet of punched paper for the background.... totally opaque so it is obviously the best for the background. The colors on the white paper ground will be the most intense in visual effect.
6
The markers can be used to draw on paper and then this image/shape/texturing can be cut out and taped with transparent double stick tape or dots to the clear sheet. The colors on the paper will be more intense and because the paper is opaque it will overlap anything behind it thus creating space. Once the image is taped to the back of a clear sheet additional nuances can be created by marking on the acetate over the taped shape underneath.
7
When an image has been drawn directly on the front of a transparent sheet, additional markings can build up shades and intensity. Flip the sheet over and draw on the corresponding area on the back. Alternatively, if the markings on the back aren’t intense enough or if they get lost in detail on overlapping areas of other sheets, apply a layer of gesso on the back of the acetate sheet. This will intensify the perception of the color of the markings and will create another opacity to help make this portion of the drawing stand out.
8
These markers come in a variety of shades and varying the layers from bold to light the background portions will recede into the background. A vibrant palette of colors can be used as an adjunct to heighten the visual drama.
9
When each student has completed their compilation of background on paper, middle ground transparency (more than one can be created) and foreground transparency, assemble the group on the stage and discuss the effect and perhaps intent of the creator.