Close

Cameo Inspirations
Lesson Plan, Grades K-8, Sax Lesson Plans, Art, History, Sharpie
Description
Cameos date back to ancient Greek, Roman and Egyptian cultures. The birthplace of the cameo is considered to be Alexandria, the town founded by Alexander The Great on the mouth of the Nile in 332 B.B. It is from here that the earliest known and most famous gems originated. The word cameo is generally used to describe carved stones or shells with an image creted in relief. They typically depict portraits of important people or mythological sceens. Many cameos are used as jewelry like necklaces, rings or broaches. Cameos are still popular todya; you can find cameos made from traditional shell and stone or plastic, clays and resin. the cameo has become a symbol of elegance and beauty and is often considered among works of art which emphasize perfection of form and the celebration of human beauty.
Objectives
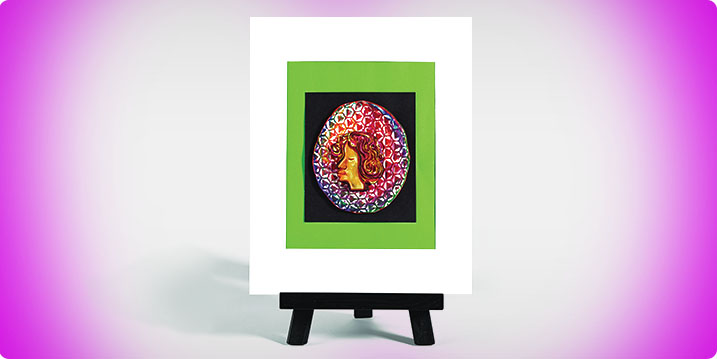
- Students will create a portrait drawing, cut out cameo, and produce Cloud Clay relief cameo in profile (silhouette) after studying the style of ancient Greek relief sculptures and Cameos.
- Students will focus on human form, line, and the carved relief shape.
Supplies Needed
Sharpie® Brush Tip Markers, Set of 12 1438024
Sharpie® Metallic Permanent Markers,Assorted Colors, Set of 36 1440657
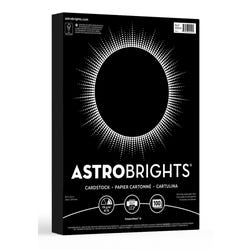
Astrobrights® Black Cardstock, 65 lb.,8.5" x 11", 100 Sheets 1438731
Amaco® Cloud Clay®, White ClassroomPack, 3 lbs. 1356075
Sculpey® EZ Release Molds Art Doll Faces 405632
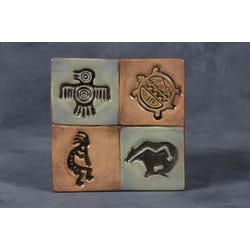
Mayco Clay Native American Design Press Tool Set, 1-3/4 in Dia, Set of 4 1289971
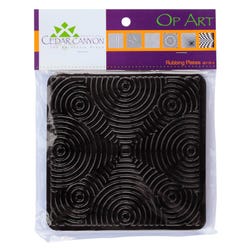
Op Art Rubbing Plates, Set of 6 410874
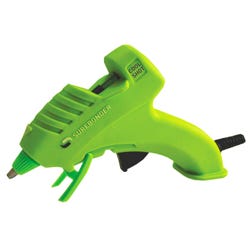
Surebonder Cool Shot Miniature Ultra Low Temperature Green Glue Gun 1394117
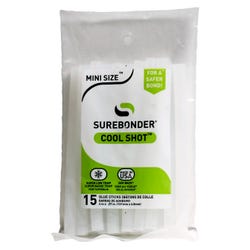
Surebonder Cool Shot Mini Size Glue Stick, 4 in, Clear, Pack of 15 1381028
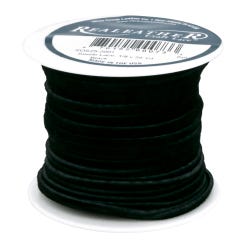
Suede Leather Lacing, Black, 25 yds 435335
Bar Pins with Safety Catch, Brass Finish,Pack of 12 436268
Creativity Street Carving Foam - 4 1/2 x 6 x 1/2 inches - Pack of 36 408389
Stylus Sticks, 4.5", Pack of 100 085949
Sax® True Flow® Tempera Varnish,Gloss, Quart 402269
Dahle® Professional Shears,10", Sold Individually 1394674
Standards
CONTENT Standard #1: Understandingand applying media, techniques and processes.
CONTENT Standard #3: Choosing andevaluating a range of subject matter, symbols and ideas.
CONTENT Standard #4: Understanding the visual arts in relation to history and cultures.
Instructions
1
Students may work with a partner or small group to practice drawing portraits in profile after studying images of Ancient and Modern Cameo designs.
2
Using black Astrobrights cardstock and Metallic Sharpies, have students draw out a few different portrait profiles. If students need to correct any lines they can draw all over the one side, leaving the other side unmarked.
3
Cut out the portrait image and (flip it over if needed) glue it to a contrasting color background.
4
Using the Sharpie Brush Markers and Metallic markers, decorate the oval that encompasses the cut out portrait. The Metallic Sharpies can be used to create the look of metal on a cameo necklace or broach.
5
Begin with the portrait profile image drawn on paper in heavy pencil to fit the 3" x 3" balsa foam tile.
6
Press and rub gently to transfer the pencil image onto the balsa tile.
7
With a wood stylus stick begin to drag and carve the image into the balsa foam.
8
Brush off the balsa tile and coat with a layer of Sax Tempera Varnish and let dry completely, be sure to brush deep in and around every part of the design. Balsa foam must be set and dry with a layer of the varnish or it will stick to the clay.
9
Roll out a thick circular slab of the Cloud Clay and press the 3" x 3" balsa relief tile gently in the Cloud Clay. Gently peel off the Cloud Clay and reveal your relief image. Set aside to begin drying.
10
Roll out a slab of white Cloud Clay and press into one of the texture plates. Set aside to begin drying.
11
Trim your relief "Cameo" portrait to a round size. Trim the textured base slab to be larger than the Cameo portrait.
12
Let both pieces dry then decorate and color with the Sharpie Brush Markers and Metallic Sharpies.
13
Glue the Cameo portrait slab on to the textured base slab. Mount on paper or a base or create a hole and string a cord to make a necklace.
14
Display all Cameo Inspired projects, mix the 2D and 3D lessons together for an interesting display.